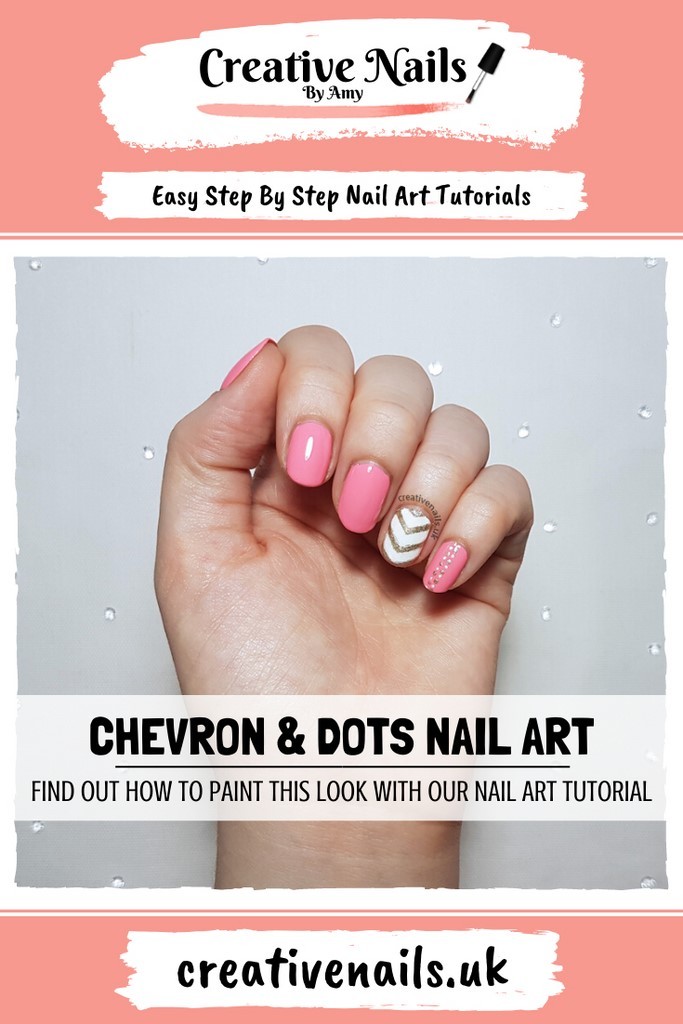
Arrows & Dots | Nail Art Tutorial
Would you like this design painted on false nails for you?
If you can’t find this design with our other false nail sets in our shop, please contact me and I will happily sort it out for you!
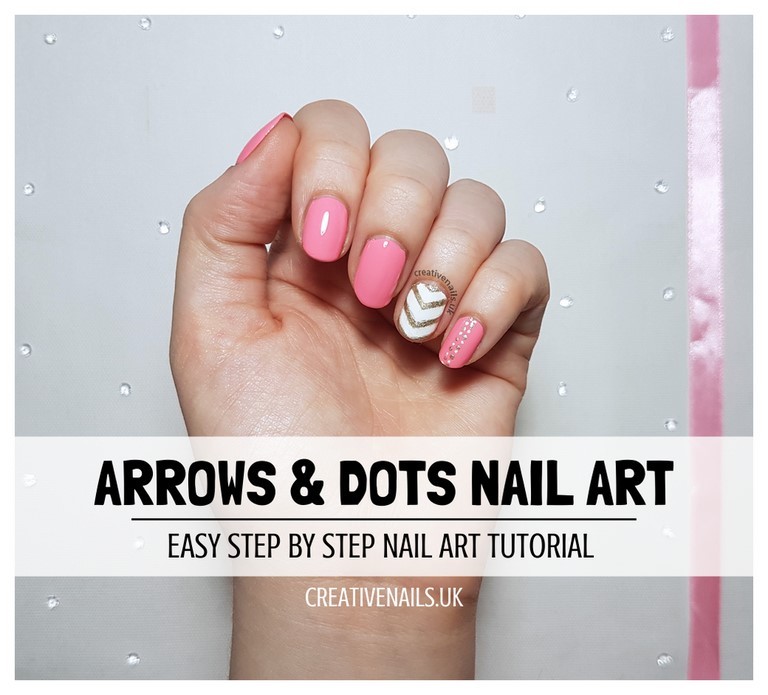
Now lets show you how we created this arrows and dots nail art!
step 1
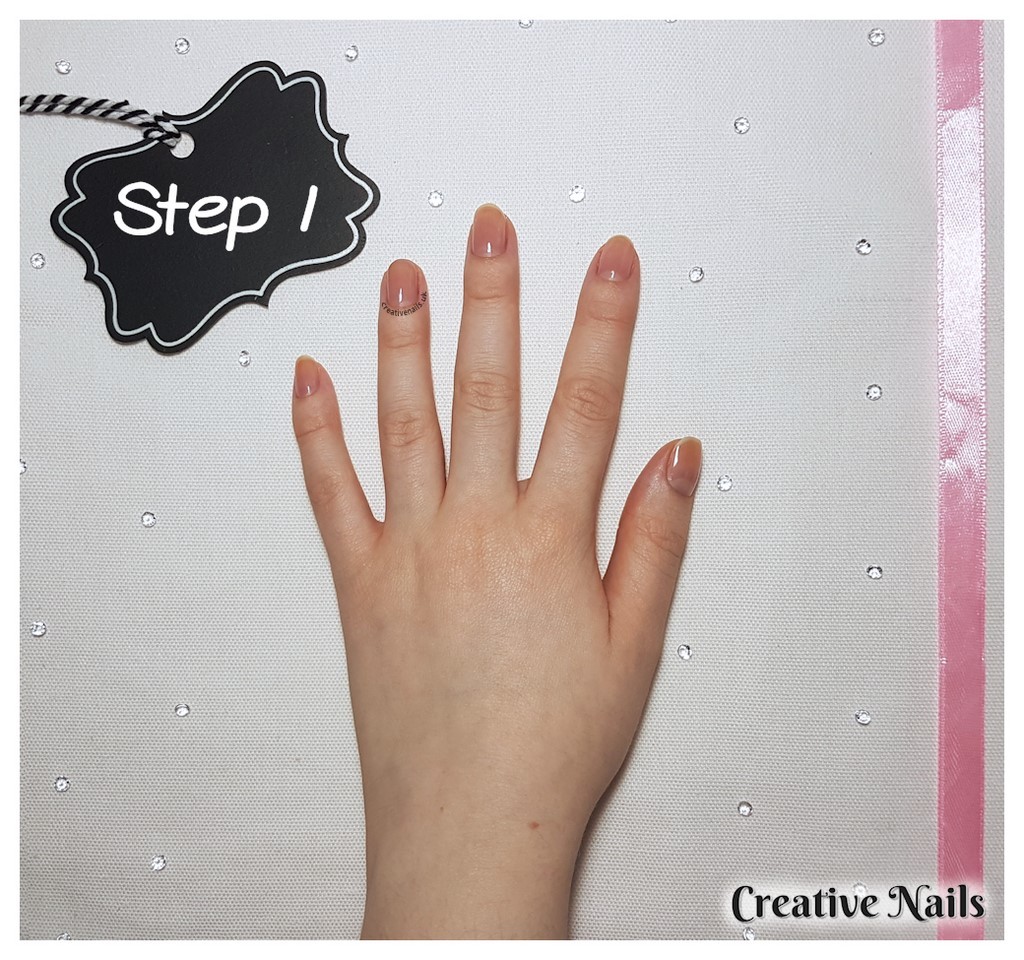
First of all it is important to make sure your nails are clean and ready to be painted before we start, so we need to do a little bit of preparation. If you have nail polish on already, you will need to take it off with some nail polish remover. After this is done, I usually wash my hands just to ensure my nails are completely clean.
Then it’s time to tidy your nails up a little and to shape them to how you want, using with your file. Also, if you want make your nails appear longer – you can push back your cuticles. If you place your hand in some warm water for a few minutes, it will help soften your skin making it easier for you to do this.
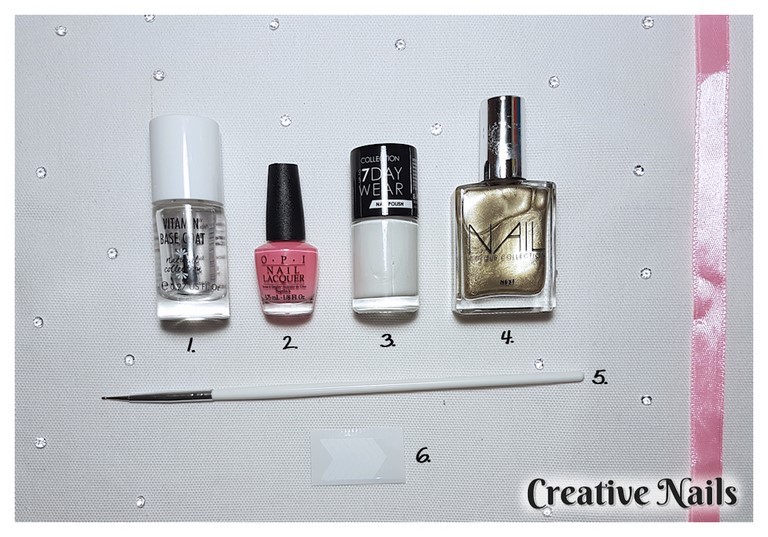
Once you are ready, you should apply a base coat to your nail as this will protect your nails from being stained but also will make applying your nail polish much smoother. We used the Vitamin Base Coat (1) to do this.
step 2
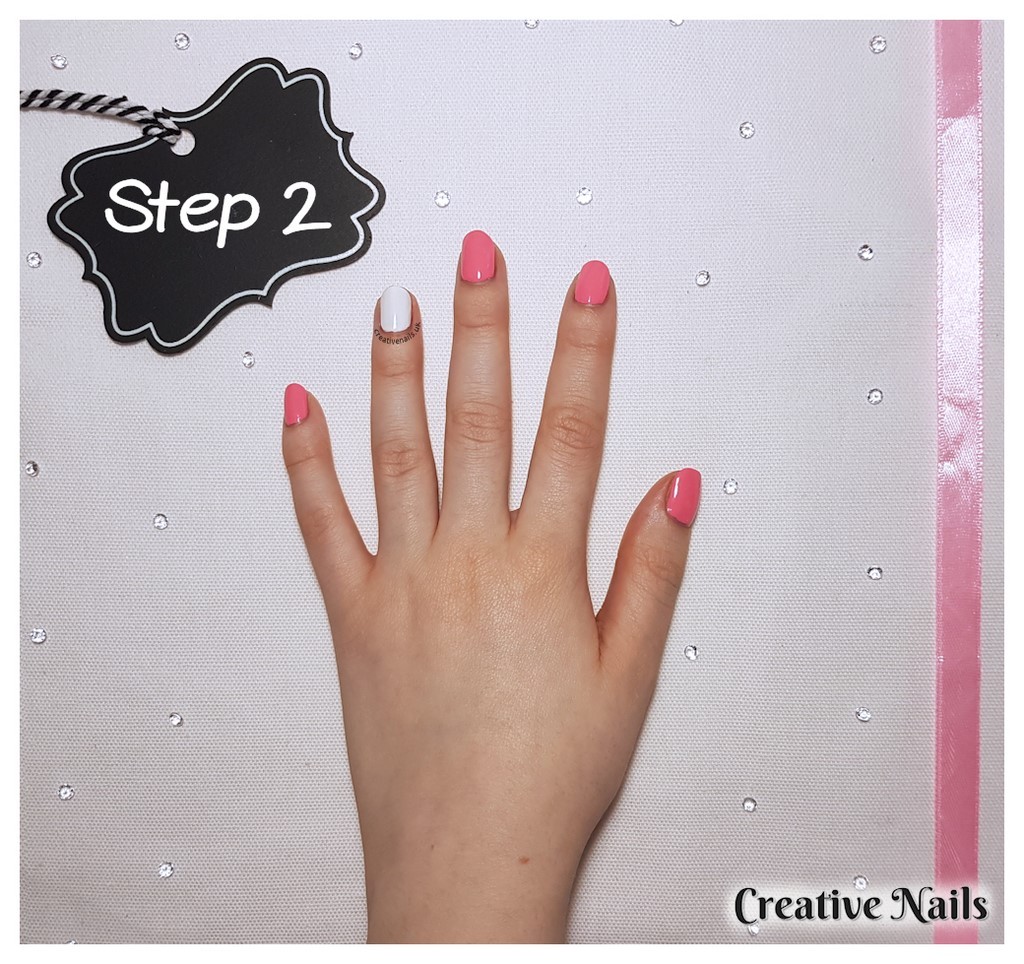
Once your base coat is dry (this shouldn’t take too long), we can start moving on to the more exciting parts – deciding what colour you want your nails to be! For this look, we decided to have the ring finger as the main focus so we painted that nail with the nail polish in the colour White Out (3) and the rest of the nails with the gorgeous pink (2) nail polish. We applied 2 coats of the nail polish as this makes sure the nails are covered well.
We recommend you apply two thin coats rather than one thick one as the thicker the coat, the longer it will take to dry.
step 3
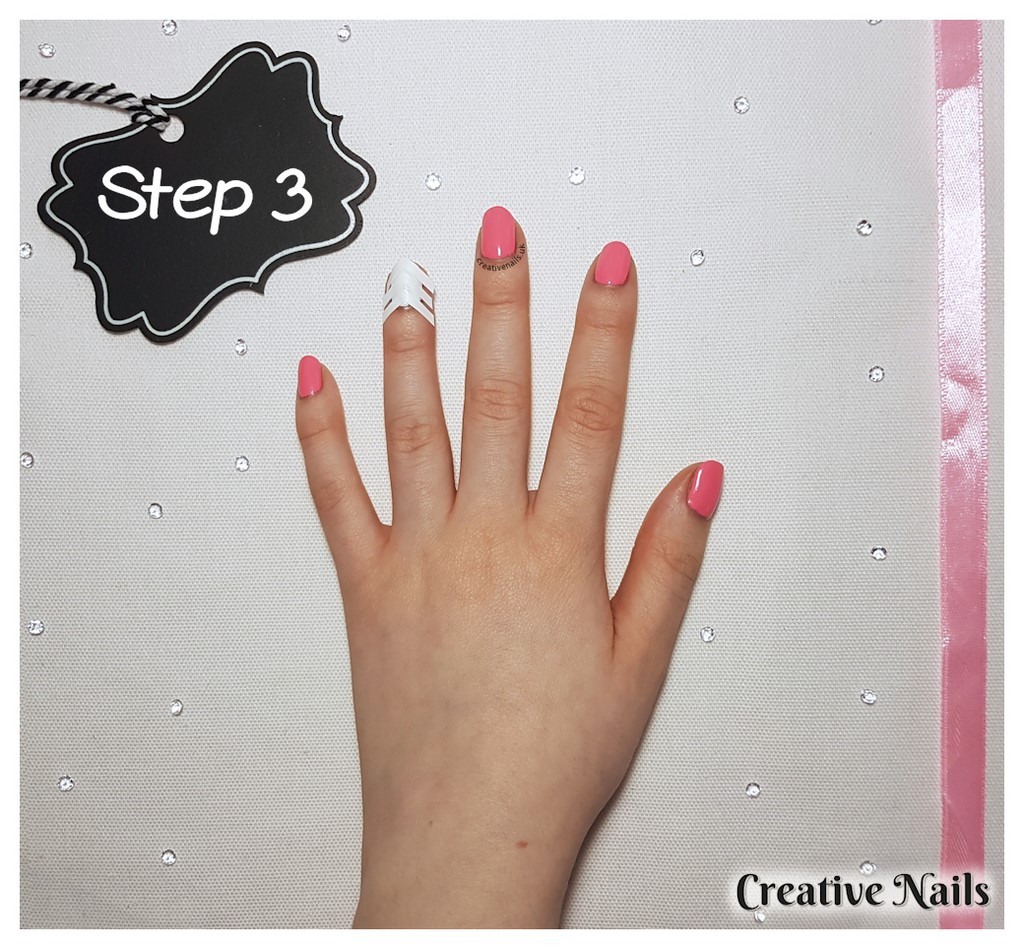
Once the white nail polish is dry, the real fun begins – time to start creating the stripes. First of all, we have to plan where we want them – to do this, we used the arrow shaped stencils (6) and placed them gently over the nail.
It is important you make sure your nail polish is dry before you place it over your nail as this could take your nail polish off!
If you don’t have any striping tape or stencils, it’s okay, you can use tape instead! You can see how we used the tape technique in our tutorial for the Stripe and Flower Nail Look.
step 4
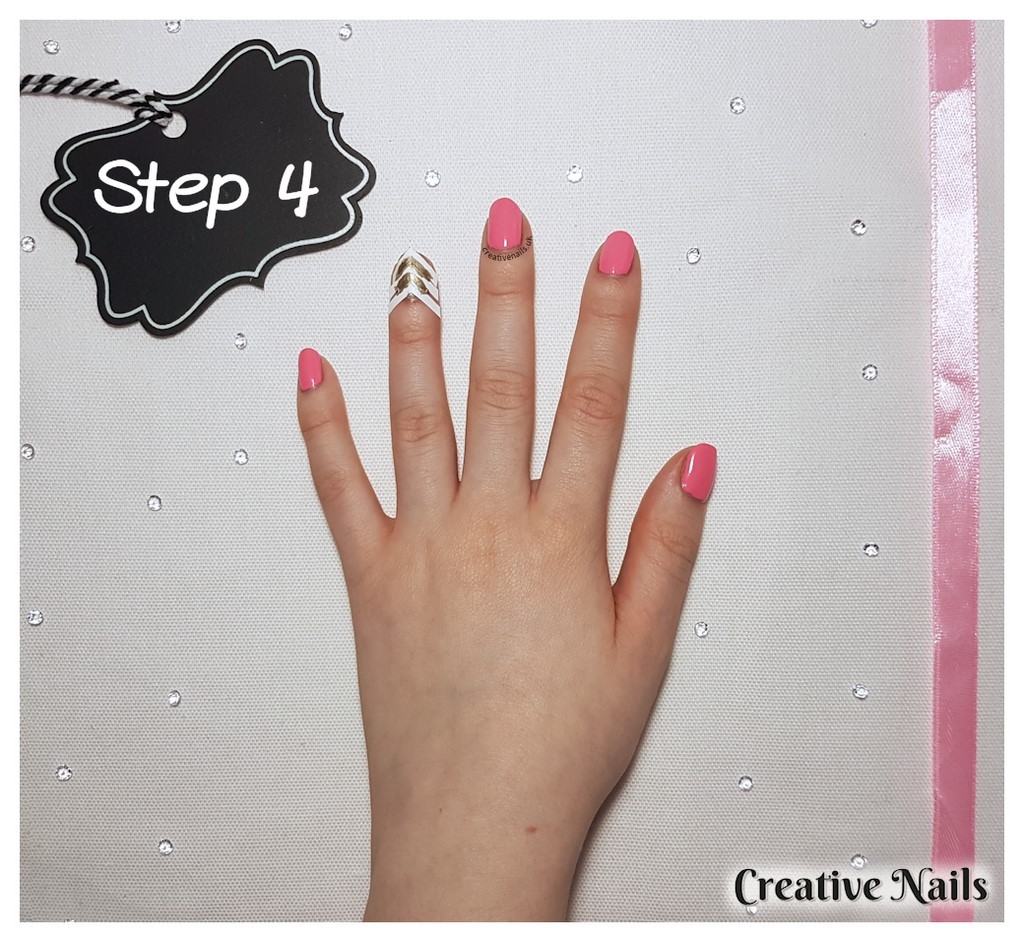
Once you are happy with the placement of the stencils, it’s time to paint on the arrows! We decided to use this gorgeous gold (4) nail polish for this nail look.
When you are painting on the nail polish on, don’t worry if you get some on the stencil – it protects that part of your nail!
step 5
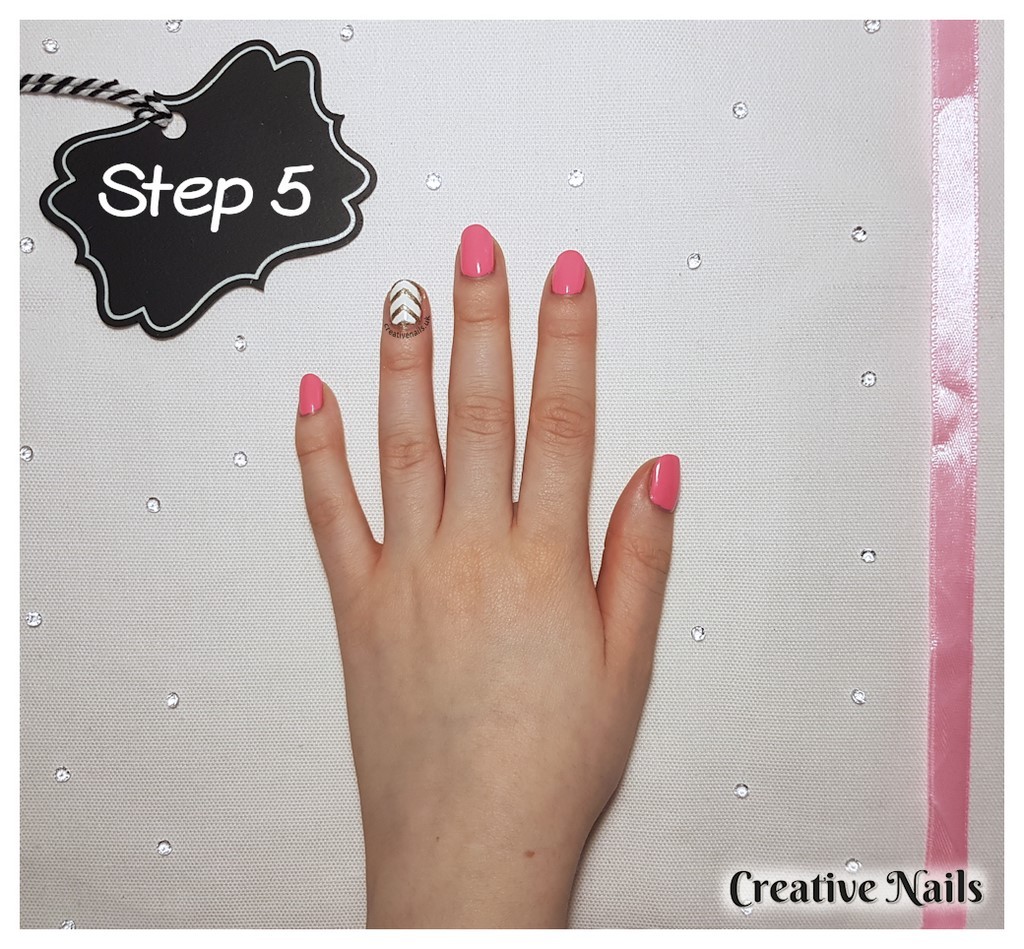
Now it’s time to gently take the stencil off!
step 6
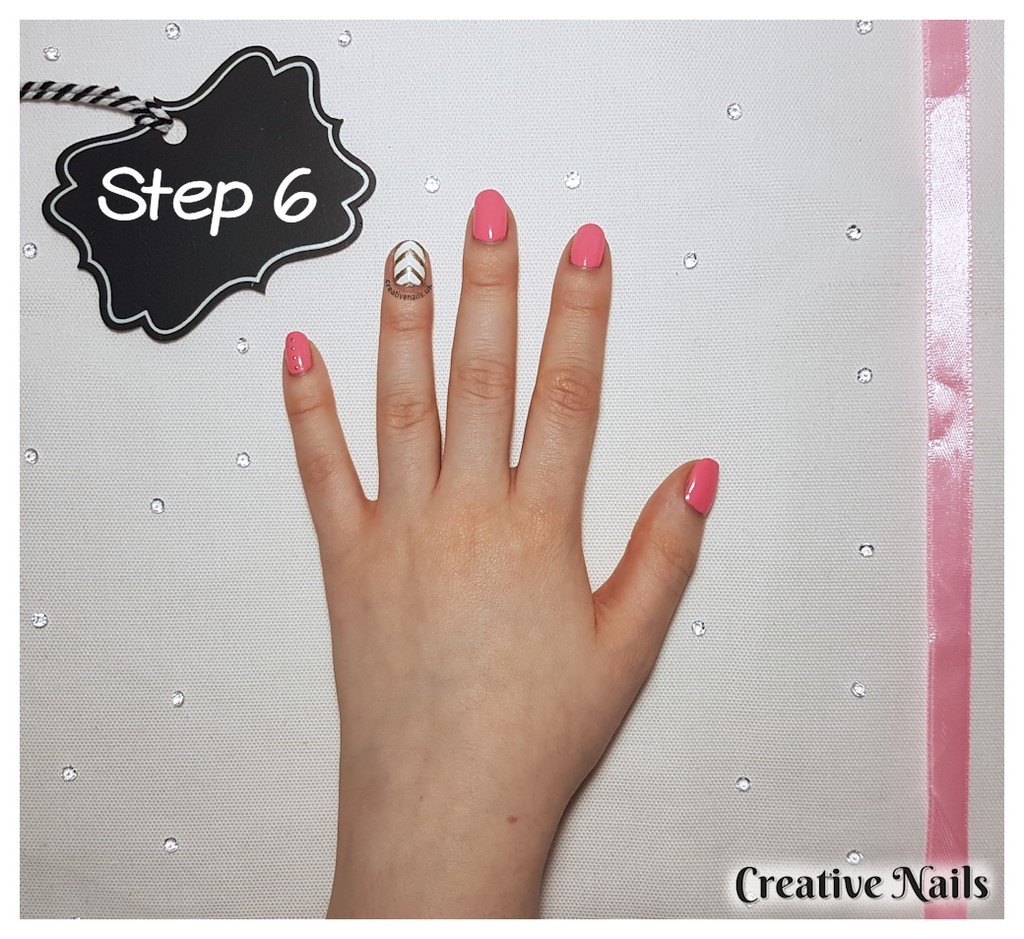
This look is gorgeous with the arrows so you could finish it there if you wanted to, but we decided to add a little bit extra! We painted on some gold dots down the middle of the nail on the little finger using dotting tool (5) with the nail polish in the colour Molten Gold (4).
step 7
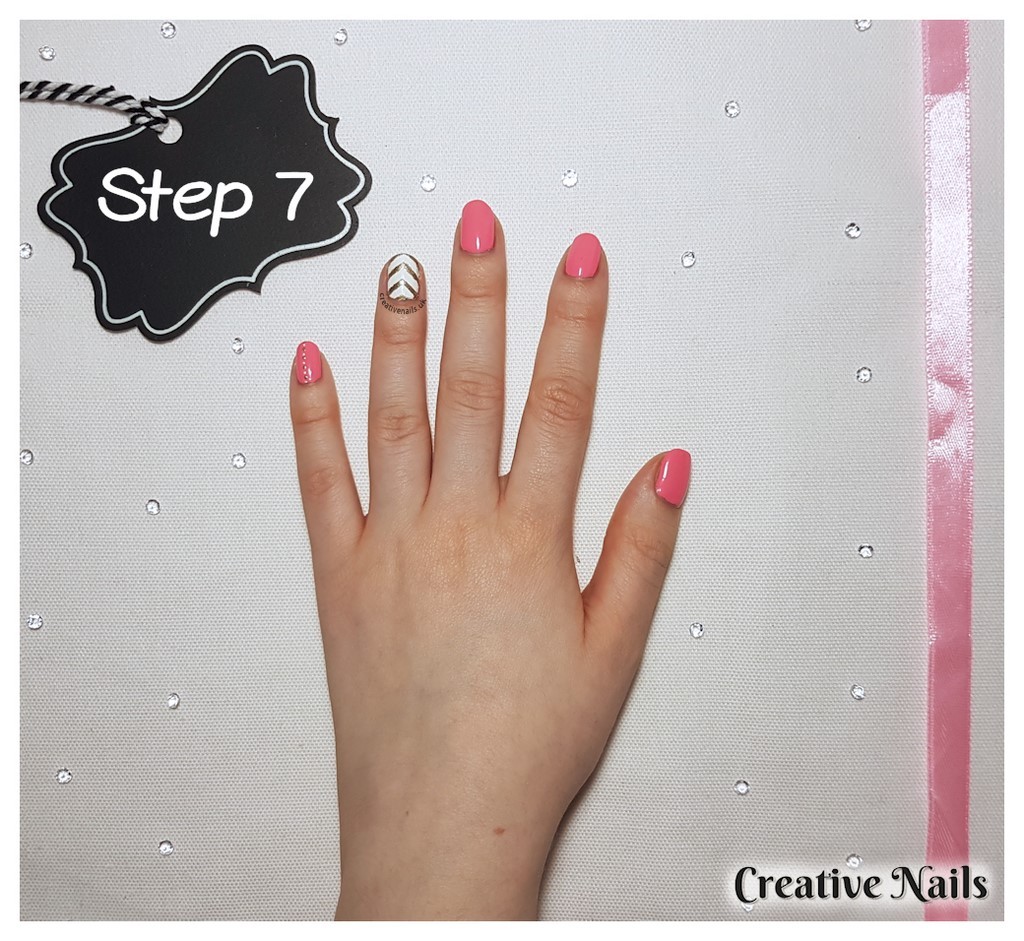
We then painted on some white dots in between the gold ones using dotting tool (5) with the nail polish in the colour White Out (3).
step 8
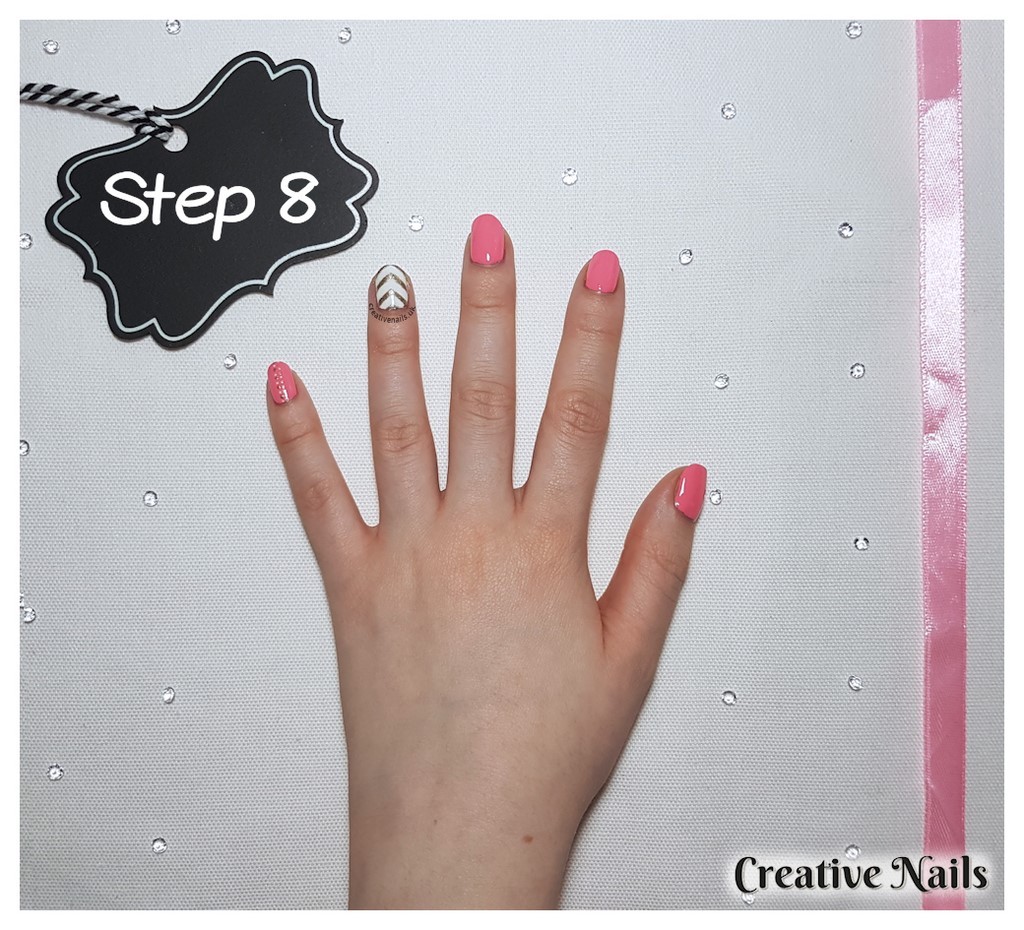
Now it’s time to add the final touch to the look! Paint on another line of white (3) and gold (4) dots on the little finger using the dotting tool (5) next to the other one.
When you are happy – apply a top coat to finish the look off!
And that’s it – a gorgeous look if you want to add a bit of extra detail to your nails that is perfect for everyday wear or if you are going out!
Now it’s your turn! Have you created this look? We’d love to see it – tag us on Twitter and Instagram!
Follow us:
Twitter | Instagram | Facebook
Pinterest | Bloglovin’


