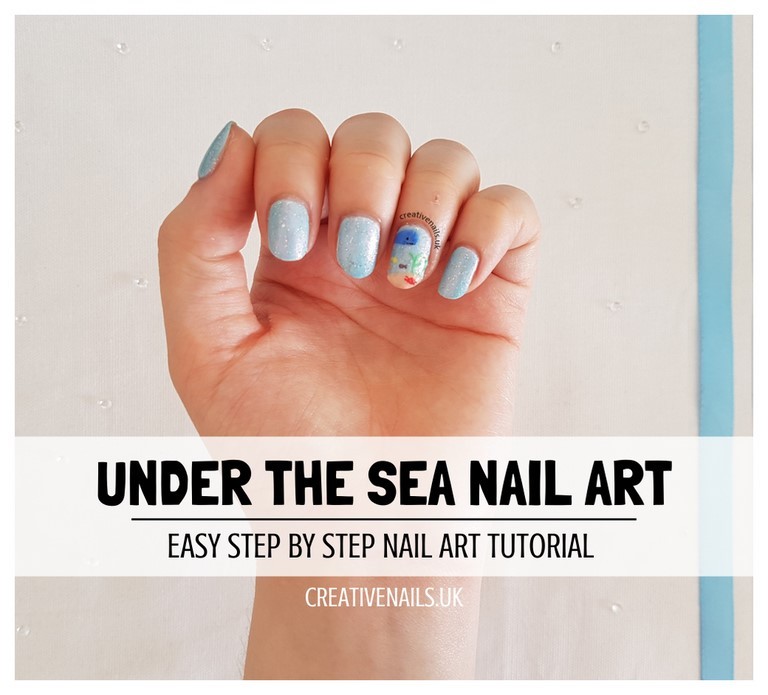
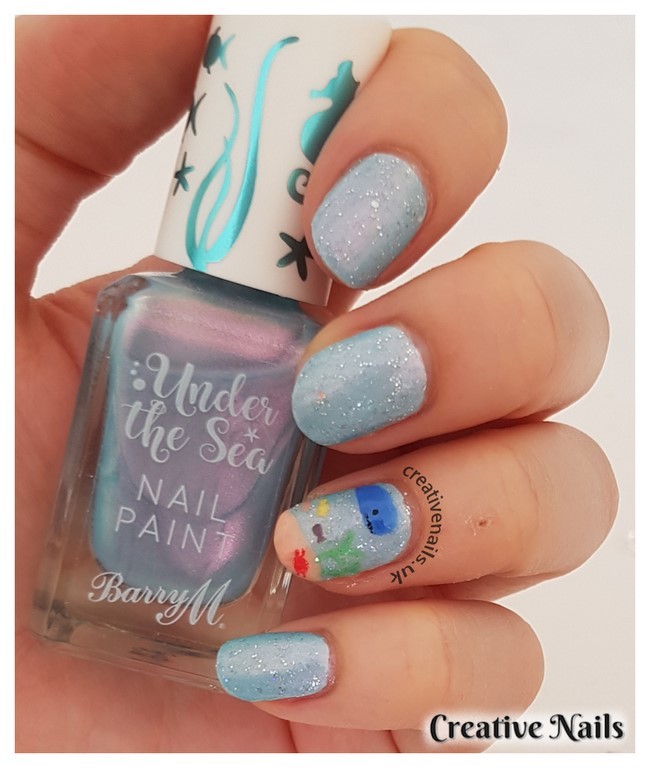
Under The Sea | Nail Art Tutorial
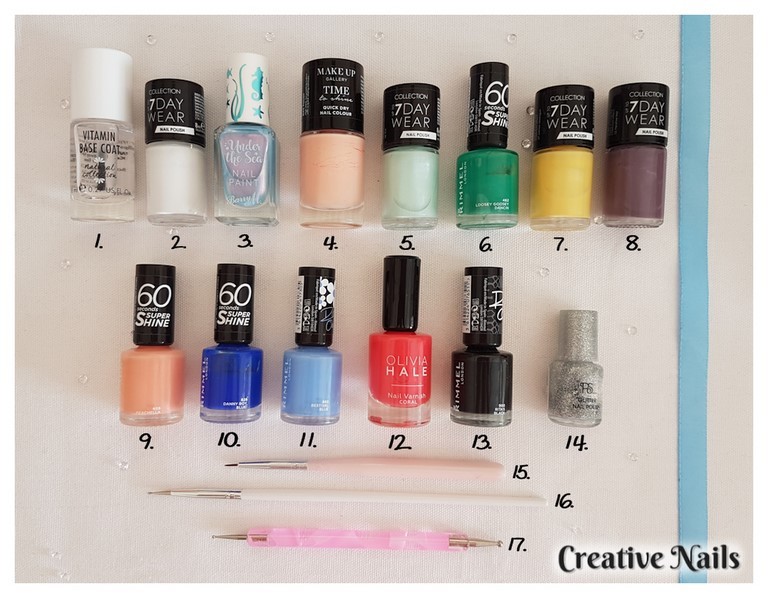
1. Vitamin Base Coat – Natural Collection
2. 7 Day Wear Nail Polish – Collection – White Out
3. Under The Sea – Barry M – Butterflyfish
4. Time To Shine – Make Up Gallery – Pink Soda
5. 7 Day Wear Nail Polish – Collection – Ice
6. 60 Seconds Super Shine – Rimmel London – Loosey Goosey Dancin
7.7 Day Wear Nail Polish – Collection – Lemon Meringue
8. 7 Day Wear Nail Polish – Collection – Heather Mist
9. 60 Seconds Super Shine – Rimmel London – Peachella
10. 60 Seconds Super Shine – Rimmel London – Danny Boy, Blue!
11. 60 Seconds Super Shine – Rimmel London – Bestival Blue
12. Nail Varnish – Olivia Hale – Coral
13. 60 Seconds Super Shine – Rimmel London – Black
14. Glitter Nail Polish – PS… – Sequin Dream
15. Pointed Drawing Brush (Small)
16. Dotting Tool
17. Dotting Tool
Would you like this design painted on false nails for you?
If you can’t find this design with our other false nail sets in our shop, please contact me and I will happily sort it out for you!
Now lets show you how we created this under the sea nail art!
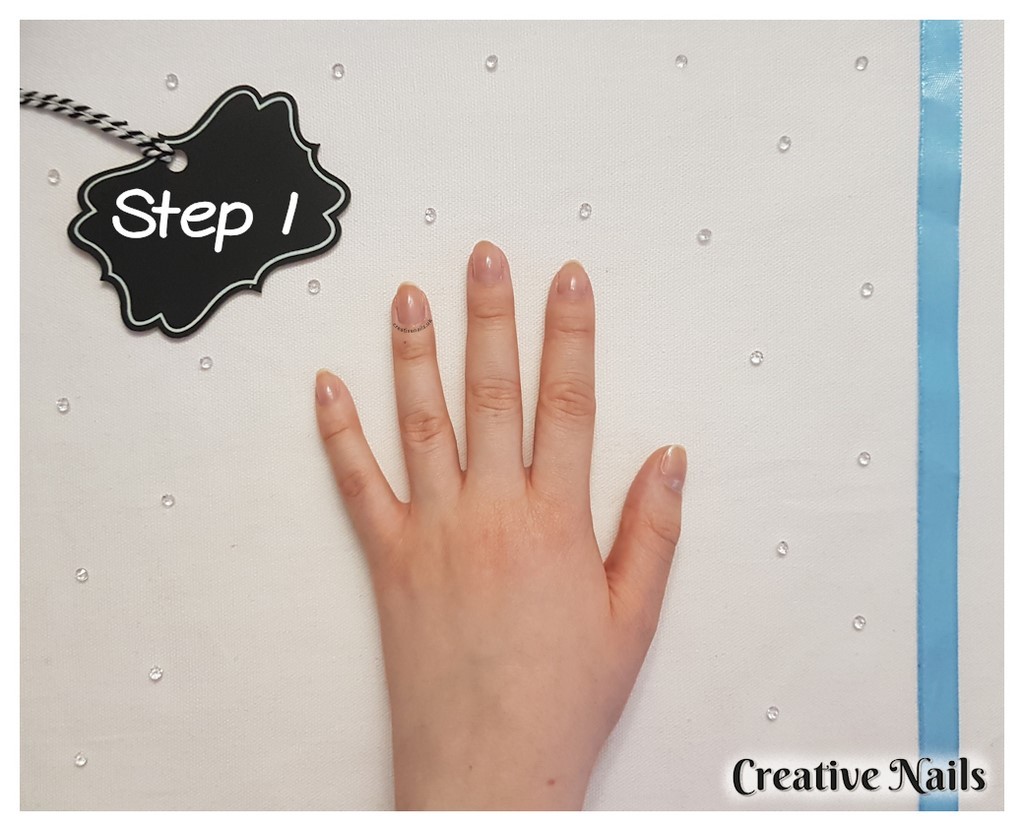
step 1
First of all it is important to make sure your nails are clean and ready to be painted before we start, so we need to do a little bit of preparation. If you have nail polish on already, you will need to take it off with some nail polish remover. After this is done, I usually wash my hands just to ensure my nails are completely clean.
Then it’s time to tidy your nails up a little and to shape them to how you want, using with your file. Also, if you want make your nails appear longer – you can push back your cuticles. If you place your hand in some warm water for a few minutes, it will help soften your skin making it easier for you to do this.
Once you are ready, you should apply a base coat to your nail as this will protect your nails from being stained but also will make applying your nail polish much smoother. We used the Vitamin Base Coat (1) to do this.
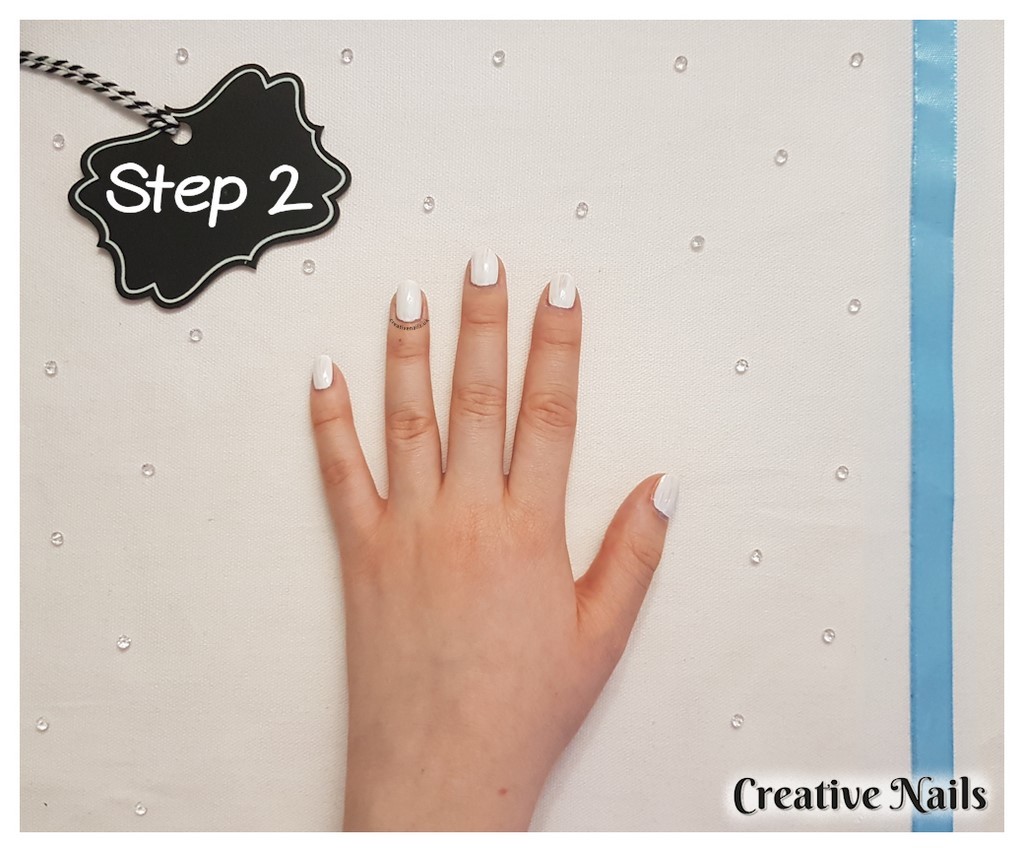
step 2
Once your base coat is dry (this shouldn’t take too long), we can start moving on to the more exciting parts – deciding what colour you want your nails to be! For this look, we decided to paint our nails with the nail polish in the colour White Out (2) to begin with. We only applied 1 coat of the nail polish as this is just going to help the blue nail polish stand out more on our nails.
We recommend you apply a thin coat rather than one thick one as the thicker the coat, the longer it will take to dry.
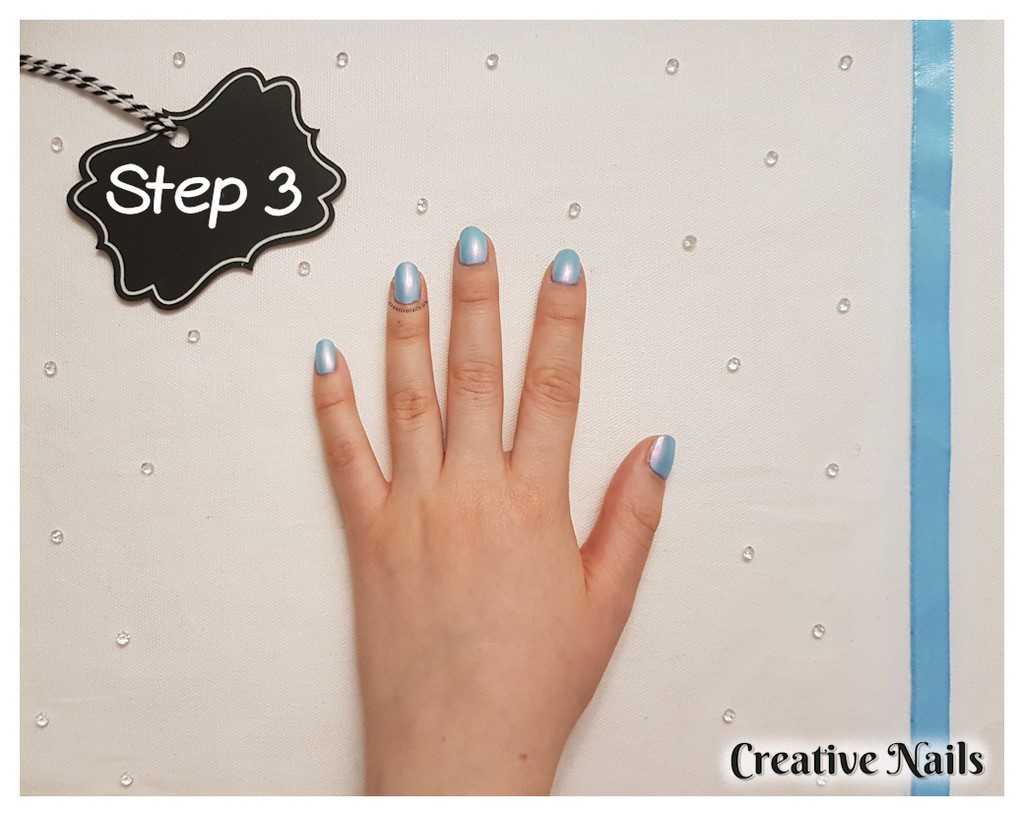
step 3
Once the white nail polish is dry, it’s time to paint over them with the nail polish in the colour Butterfly Fish (3).
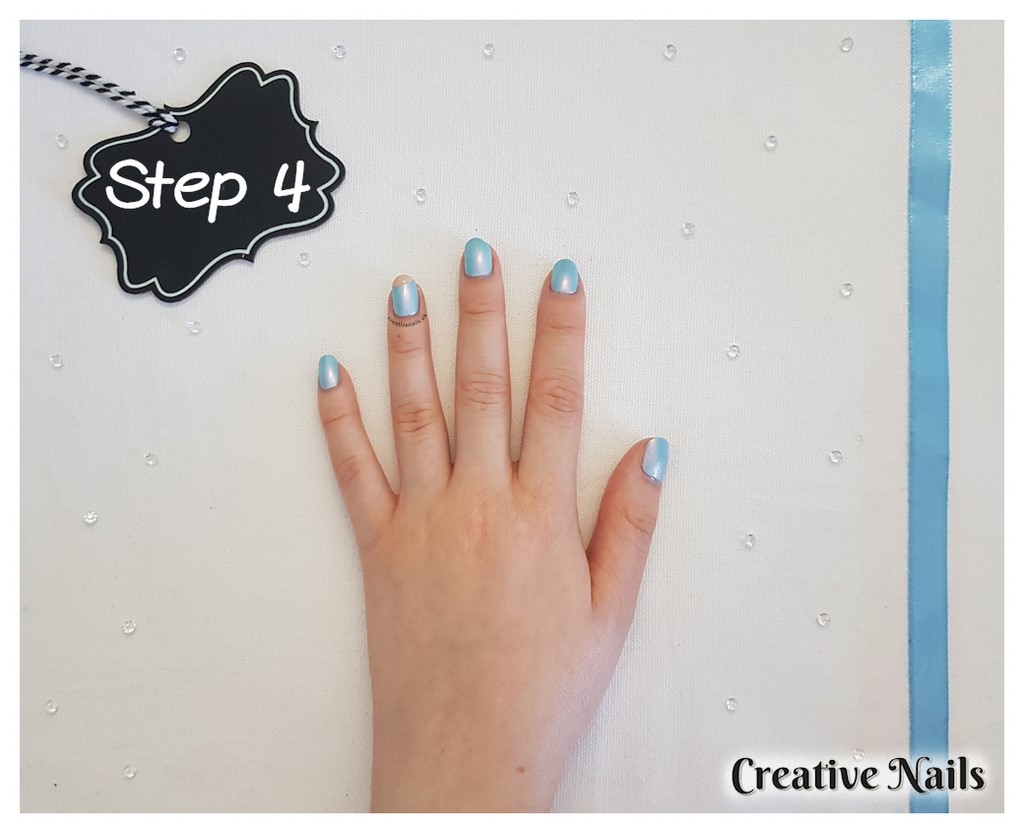
step 4
Now it’s time to start creating this under the sea nail art! Firstly, we painted some sand at the bottom of the nail using the nail polish in the colour Pink Soda (4).
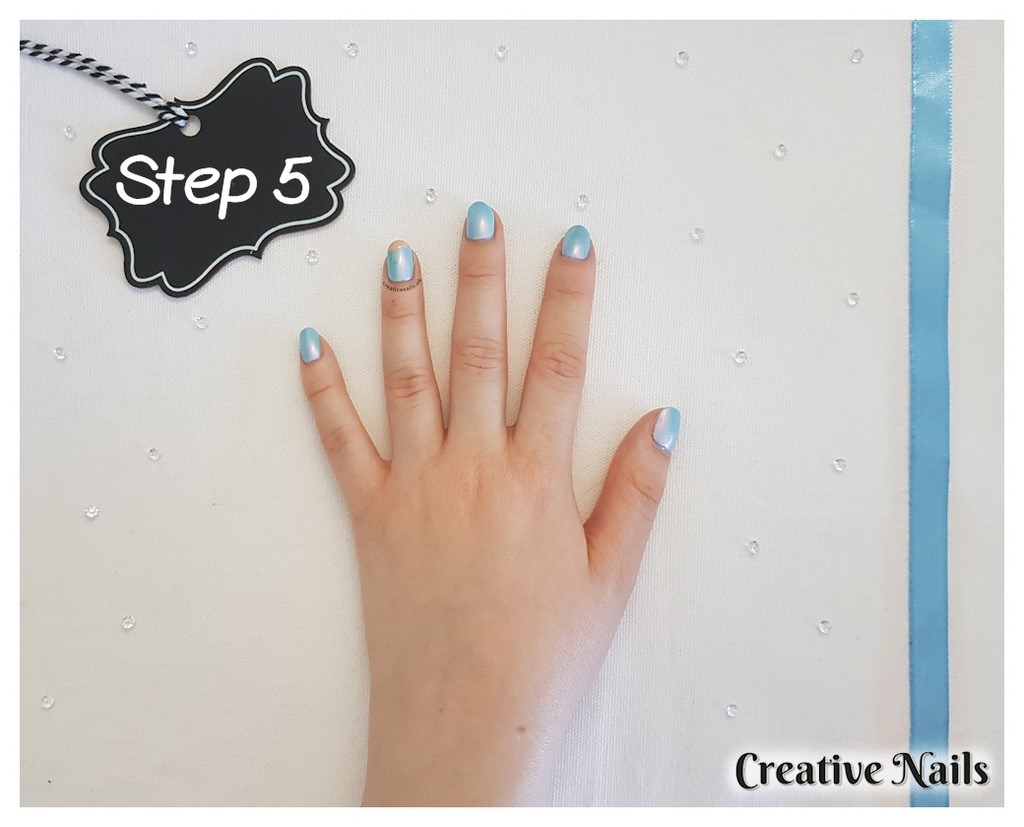
step 5
Next we painted on some seaweed using a dotting tool (16) with the nail polish in the colour Ice (5).
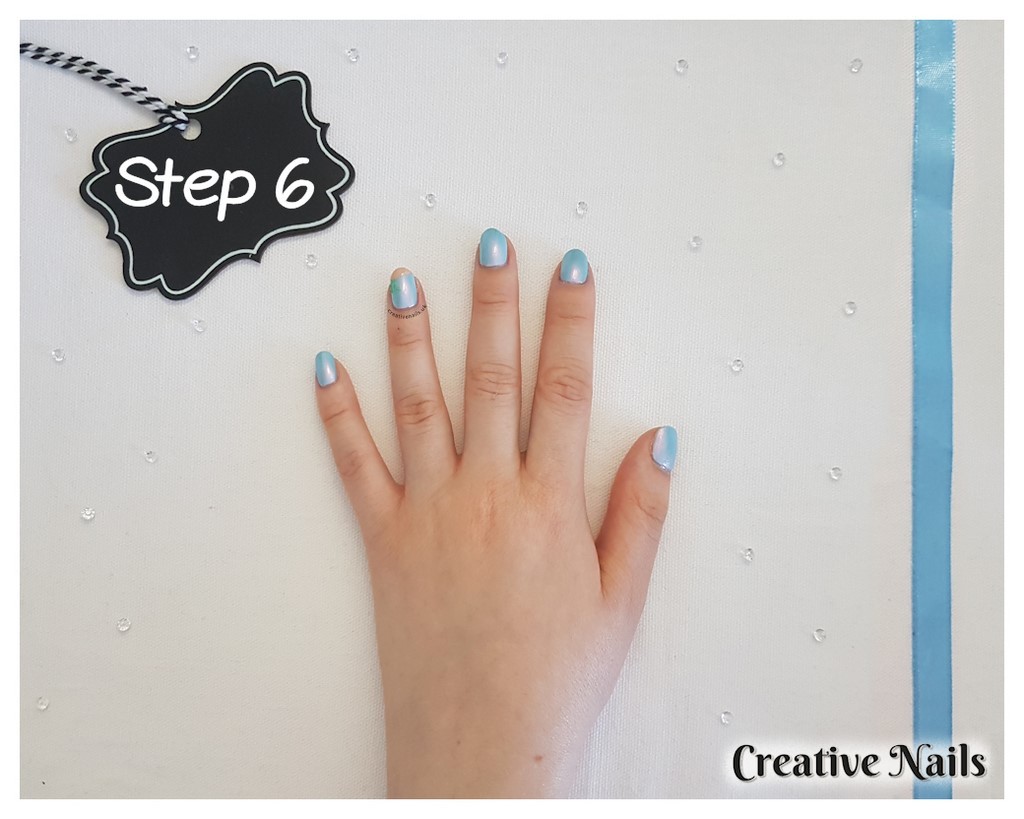
step 6
We painted on another piece of seaweed next to the other one, in a slightly darker shade of green using a dotting tool (16) with the nail polish in the colour Loosey Goosey Dancin (6).
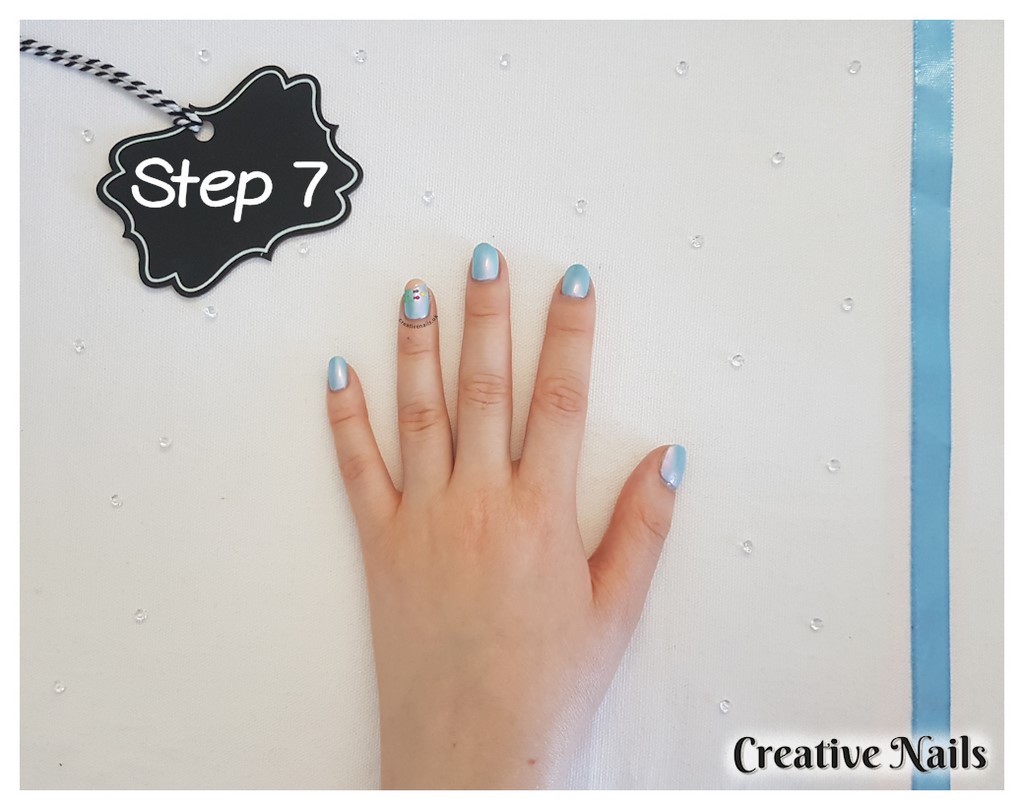
step 7
After you finish painting on the seaweed, it’s time to add some cute little fish to this under the sea nail look! We painted on 3 different colour fishes, using the dotting tool (16) with the nail polish in the colours yellow (7), purple (8) and orange (9).
* Please note we did decide to take off the pink fish so that’s why it’s missing in the rest of the pictures!
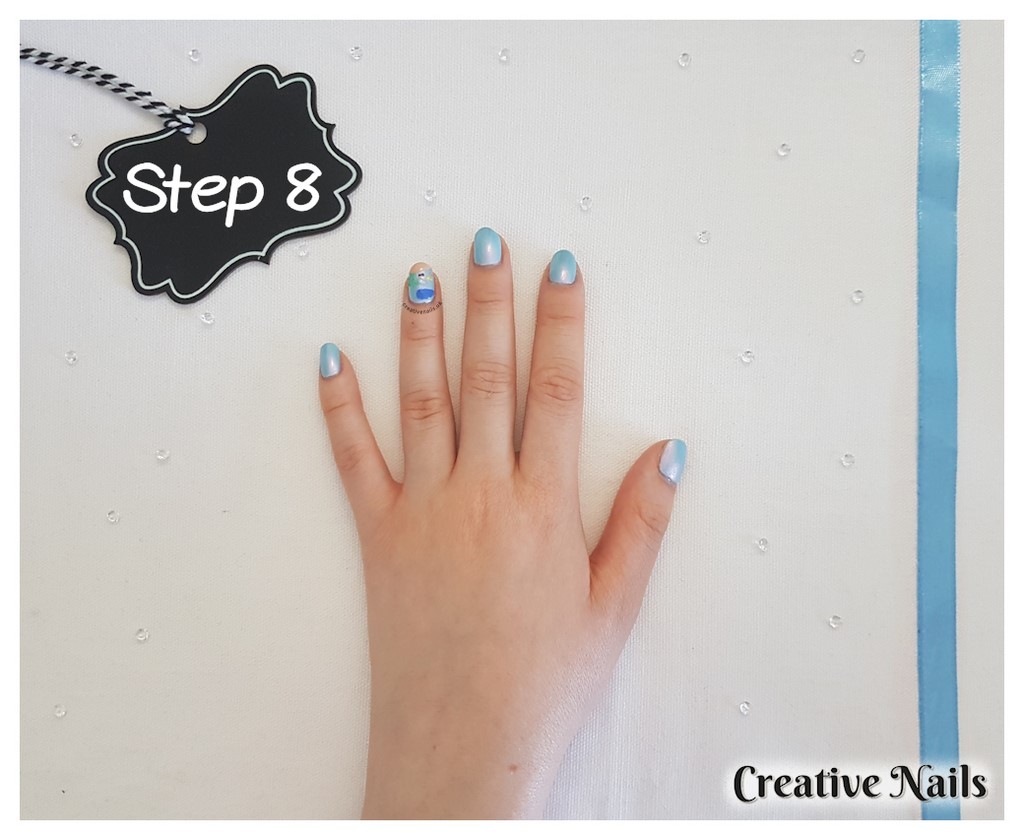
step 8
Now it’s time to add a whale at the top of the nail to add a bit extra to this under the sea nail look! To do this, we mixed together the nail polish in the colour Danny Boy, Blue! (10) with the nail polish in the colour Bestival Blue (11) to create the lovely shade you can see in the photo. We then painted it on the nail using the small drawing brush (15).
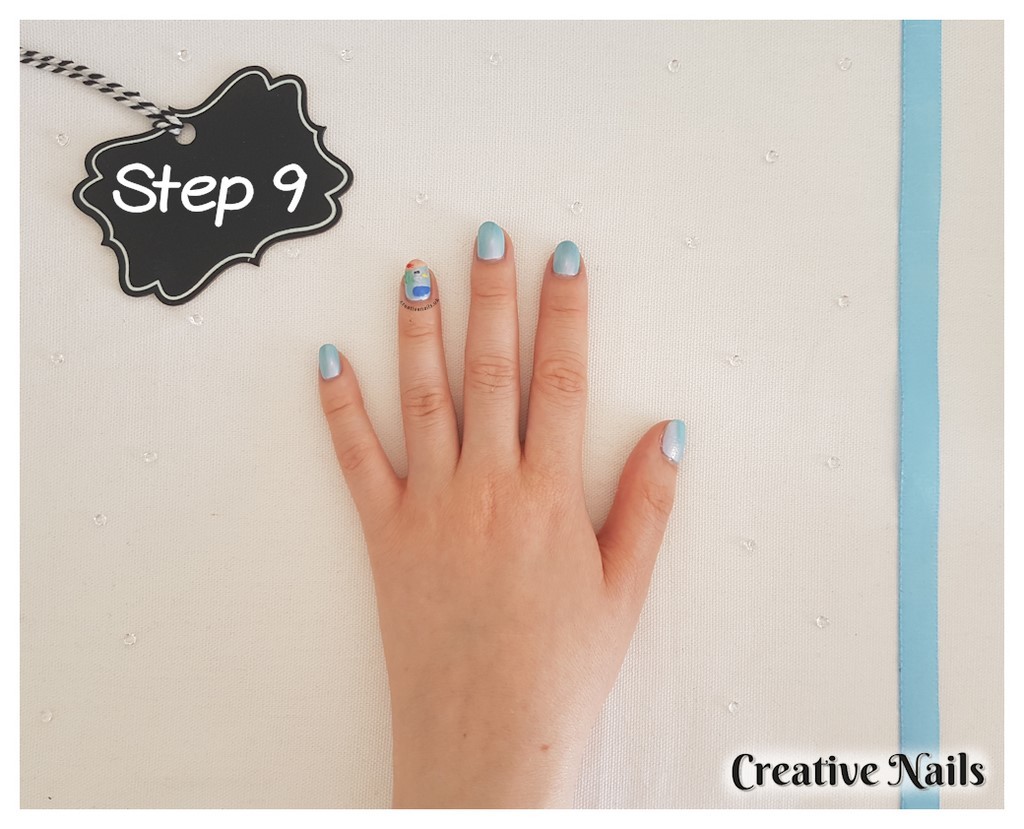
step 9
After we finished painting on the whale, we decided to add a cute little crab on the seabed! To do this, we used the dotting tool (17) with the nail polish in the colour Coral (12).
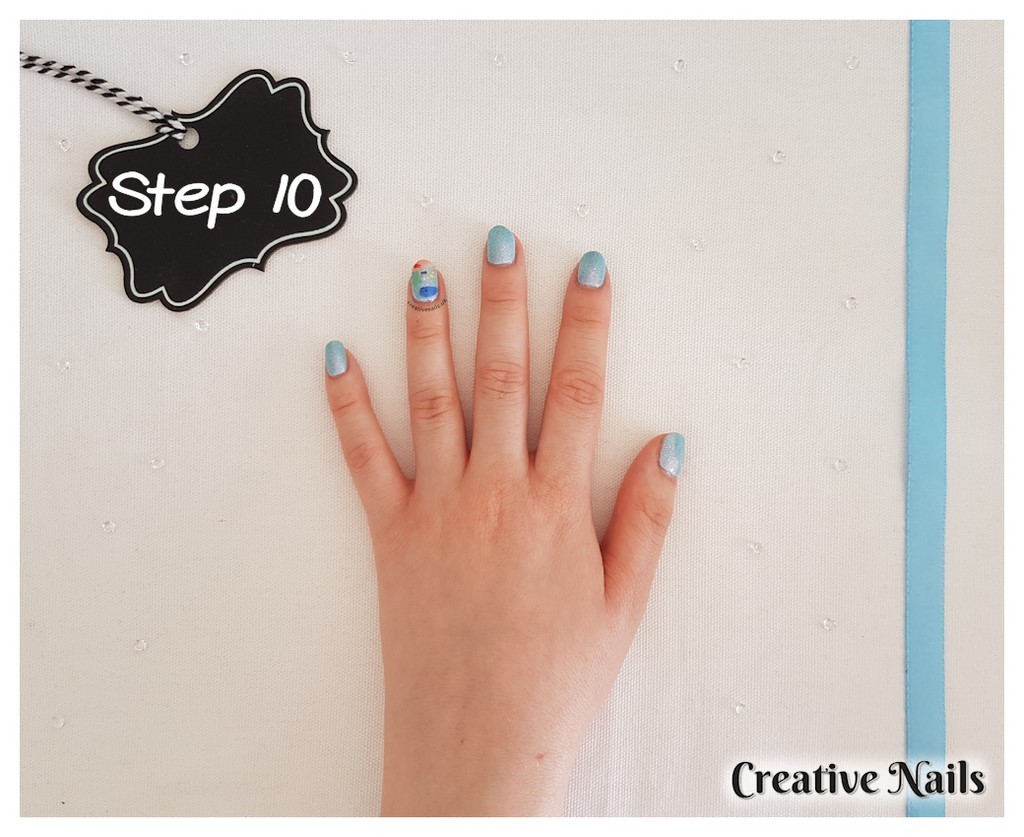
step 10
Now it’s time to add the final touches to this under the sea nail art! First, we need to finish creating the whale by adding some eyes and a mouth. To do this, we used the dotting tool (16) with the black (13) nail polish. The final thing to do to finish creating this look is add the pretty glitter to all the nails! We used the nail polish in the colour Sequin Dream (14) for this.
* To make it easier to apply the glitter nail varnish to the small areas on the ring finger nail, we used the small drawing brush (15).
When you are happy – apply a top coat to finish the look off!
And that’s how we created this under the sea nail look! It’s a gorgeous under the sea look for your nails!
Now it’s your turn! Have you created this look? We’d love to see it – tag us on Twitter and Instagram!
Follow us:
Twitter | Instagram | Facebook
Pinterest | Bloglovin’


