Christmas Lights | Nail Art Tutorial
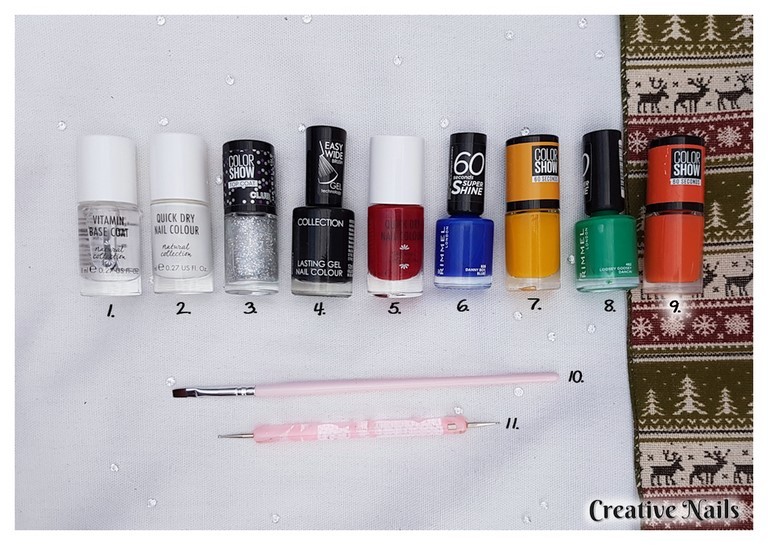
1. Vitamin Base Coat – Natural Collection
2. Quick Dry Nail Colour – Natural Collection – Mulled Wine
3. Color Show – Maybelline – Glitter It
4. Lasting Gel Nail Colour – Collection – Blackjack
5. Quick Dry Nail Colour – Natural Collection – Mulled Wine
6. 60 Seconds Super Shine – Rimmel London – Danny Boy, Blue!
7. Color Show 60 Seconds – Maybelline – Electric Yellow
8. 60 Seconds Super Shine – Rimmel London – Loosey Goosey Dancin
9. Color Show 60 Seconds – Maybelline – Lux Lobster
10. Flat Drawing Brush
11. Dotting Tool
Would you like this design painted on false nails for you?
If you can’t find this design with our other false nail sets in our shop, please contact me and I will happily sort it out for you!
Now lets show you how we created this Christmas lights nail art!
step 1
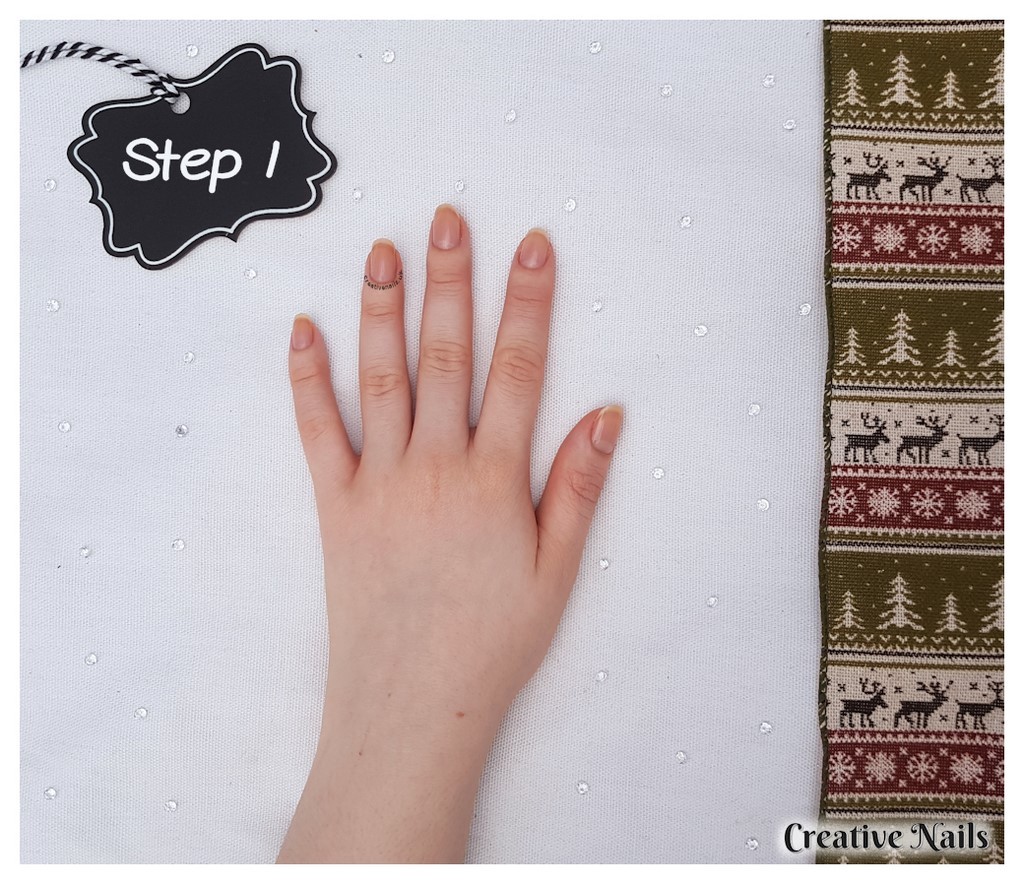
First of all it is important to make sure your nails are clean and ready to be painted before we start, so we need to do a little bit of preparation. If you have nail polish on already, you will need to take it off with some nail polish remover. After this is done, I usually wash my hands just to ensure my nails are completely clean.
Then it’s time to tidy your nails up a little and to shape them to how you want, using with your file. Also, if you want make your nails appear longer – you can push back your cuticles. If you place your hand in some warm water for a few minutes, it will help soften your skin making it easier for you to do this.
Once you are ready, you should apply a base coat to your nail as this will protect your nails from being stained but also will make applying your nail polish much smoother. We used the Vitamin Base Coat (1) to do this.
step 2
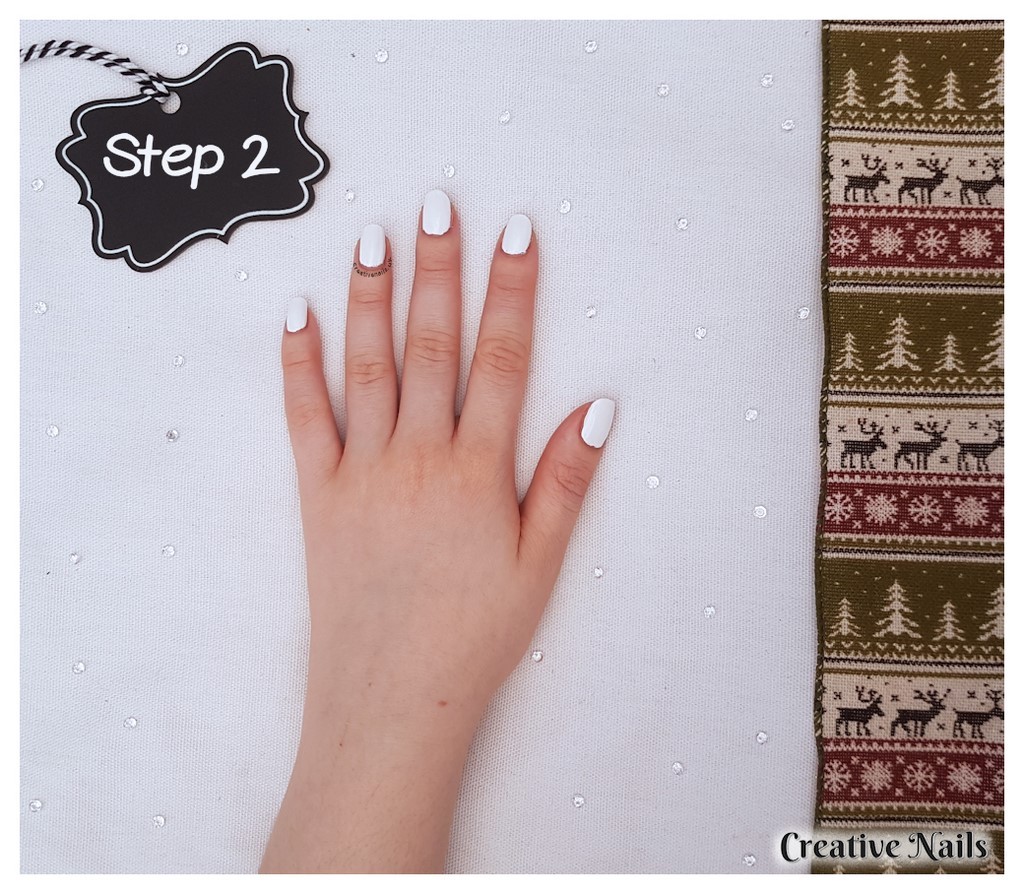
Once your base coat is dry (this shouldn’t take too long), we can start moving on to the more exciting parts – deciding what colour you want your nails to be! For this look, we decided to have a white base colour as this will make it easier to paint the Christmas lights on! So, we painted the nails with the white (2) nail polish. We applied 2 coats as this made sure the nails were covered well.
We recommend you apply two thin coats rather than one thick one as the thicker the coat, the longer it will take to dry!
step 3
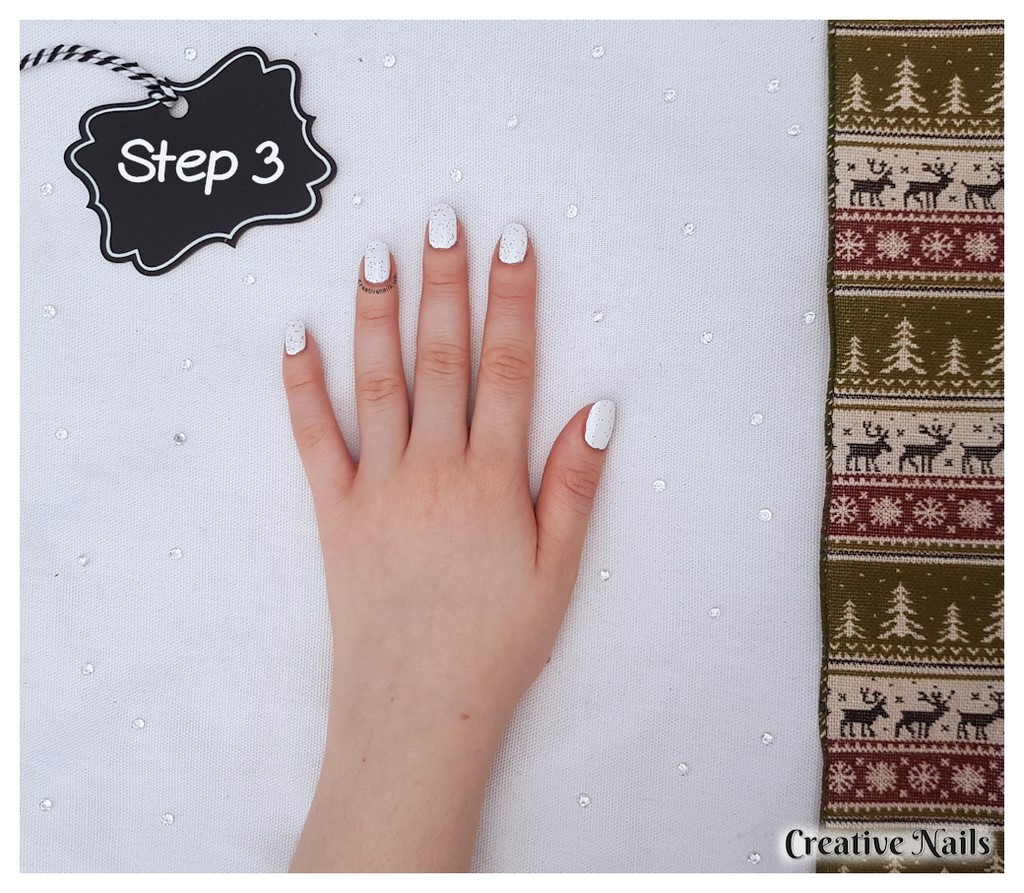
Once the white nail polish is dry, we decided to add a bit of glitter to the nail look by using the Glitter It (3) nail polish.
step 4
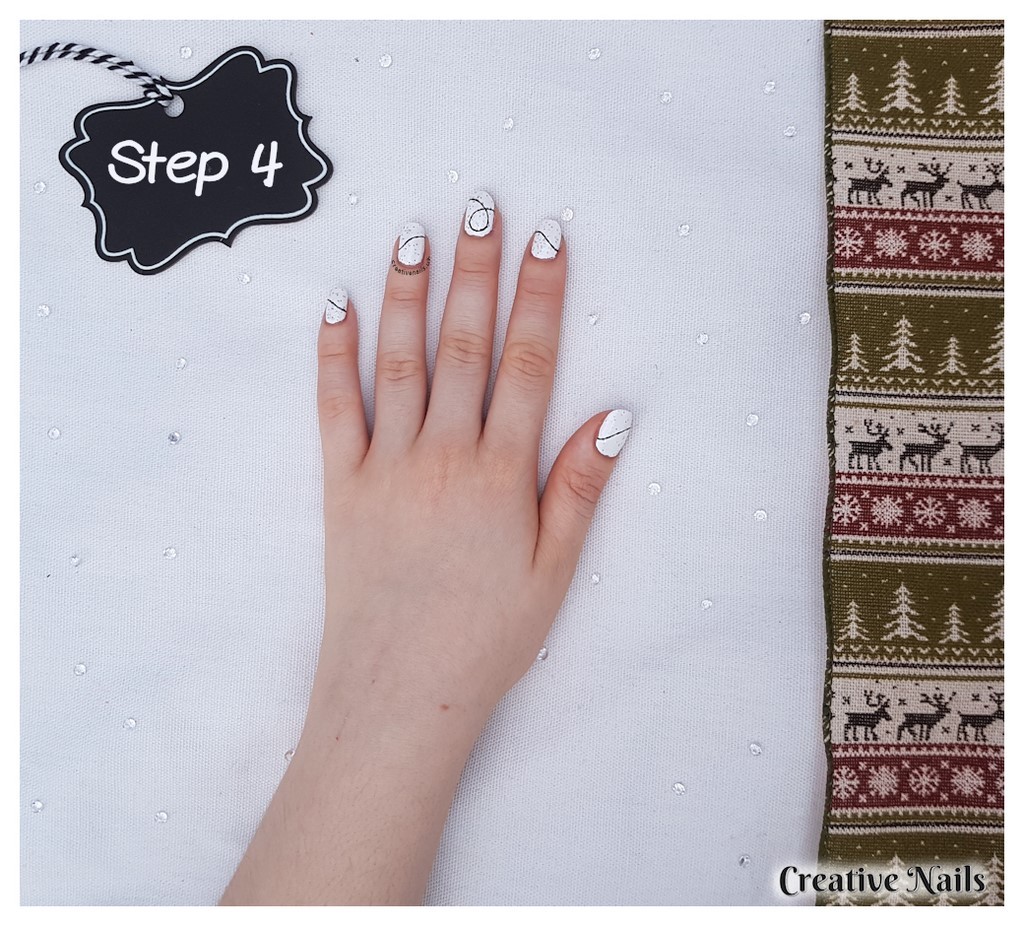
Now it’s time to start creating the look! To paint on the thin black lines, we used the flat drawing brush (10) with the black (4) nail polish. We painted the wire on the nails so it would look like they are joined up when the nails are together (you can see this in the top image!). To do this, we started each wire on the nail in a similar place to where the other one ended.
step 5
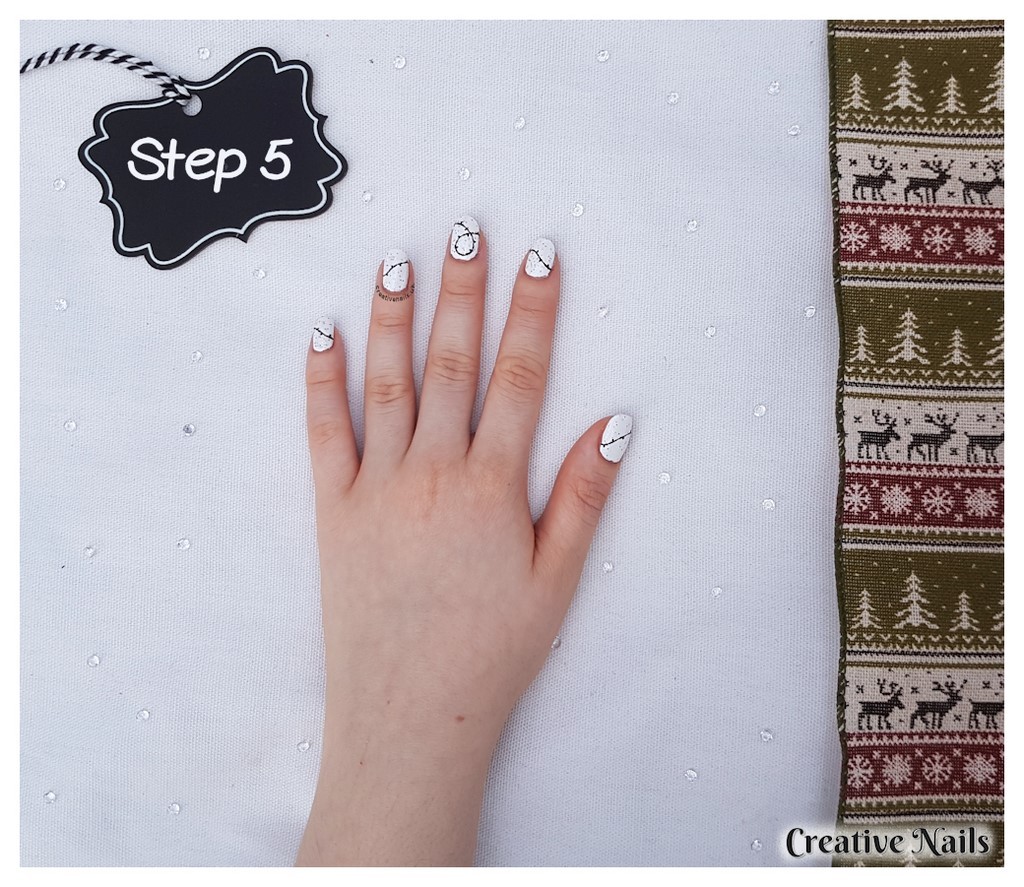
Once you are happy with the wire placement, it’s time to start planning where you would like the lights to be! To do this, we used the dotting tool (11) with the black (4) nail polish and painted on little black lines coming off from the wire – this is what the Christmas lights will be on.
step 6
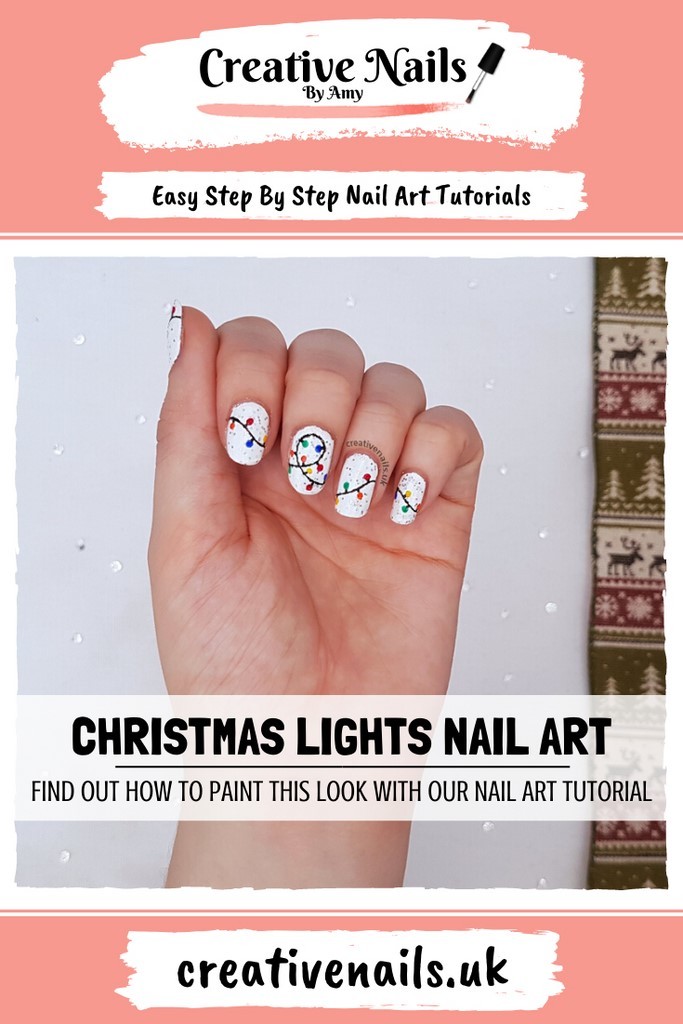
Now it’s time to add the final touch to the look – the different coloured Christmas lights! To paint them on, we used the dotting tool (11) and 5 different colours – red (5) blue (6) yellow (7) green (8) orange (9). This kept it looking bright, festive and very colourful!
When you are happy – apply a top coat to finish the look off.
And that’s it! How great is this look?! Perfect for everyday wear with it getting closer to Christmas! So, if you are getting into that Christmassy mood – have fun and paint this look on your nails!
Now it’s your turn! Have you created this look? We’d love to see it – tag us on Twitter and Instagram!
Follow us:
Twitter | Instagram | Facebook
Pinterest | Bloglovin’


