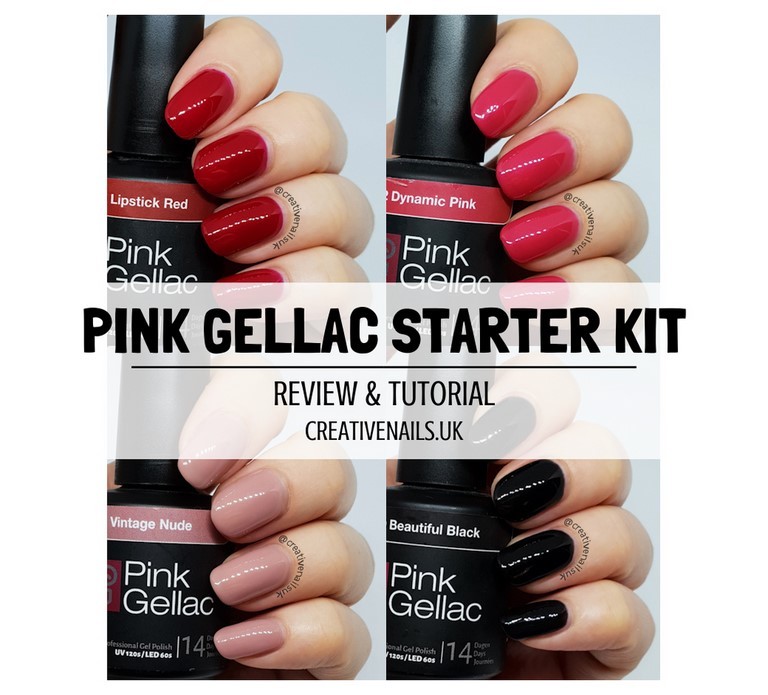
Pink Gellac Starter Kit | Review & Tutorial
So, lets get started!
I have used gel polish products before – I actually used to paint my nails with them quite often a few years ago, but at that time, I moved and got a new job where sadly, I wasn’t allowed to have my nails painted. When I left and started my apprenticeship, I was so happy to be able to paint my nails again! I was using products from the brand, Sensationail, so I was excited to try gel polish from a brand I hadn’t heard of or used their products before. I was quite surprised I hadn’t heard of them before to be honest!
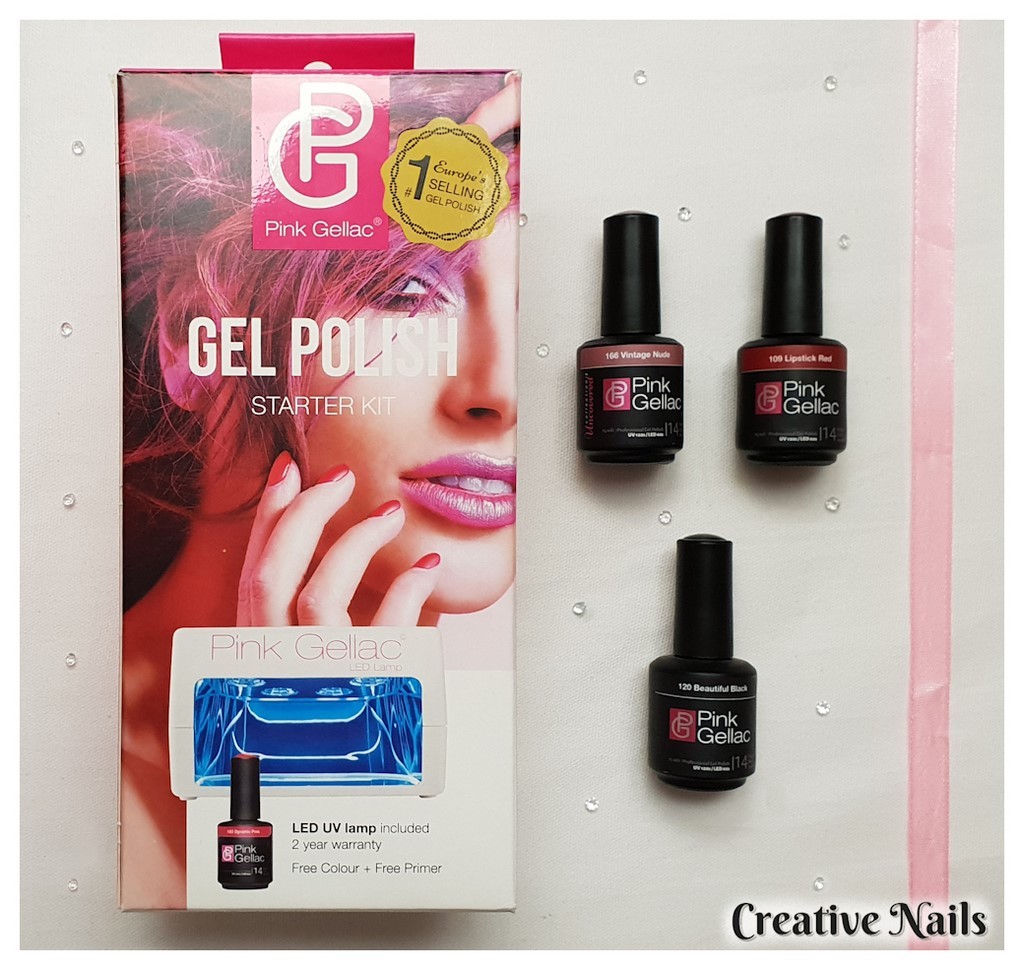
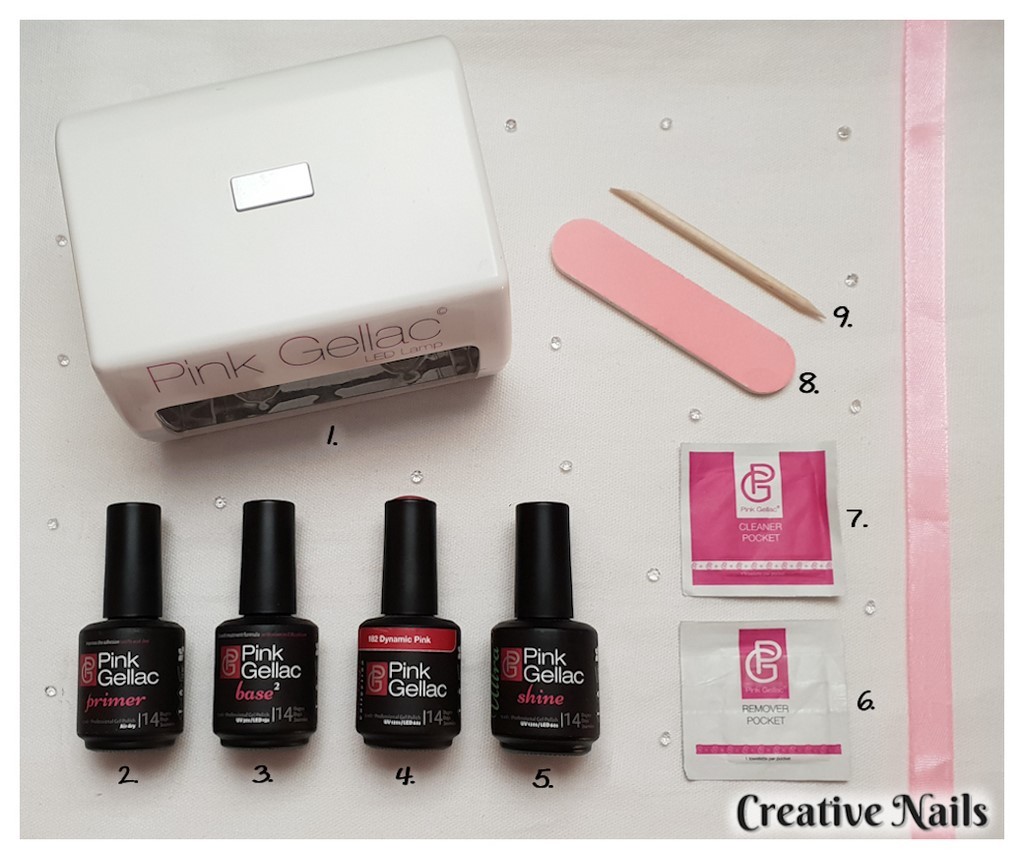
So what is in the starter kit?
Lets show you how to can paint a gel manicure at home, using this starter kit!
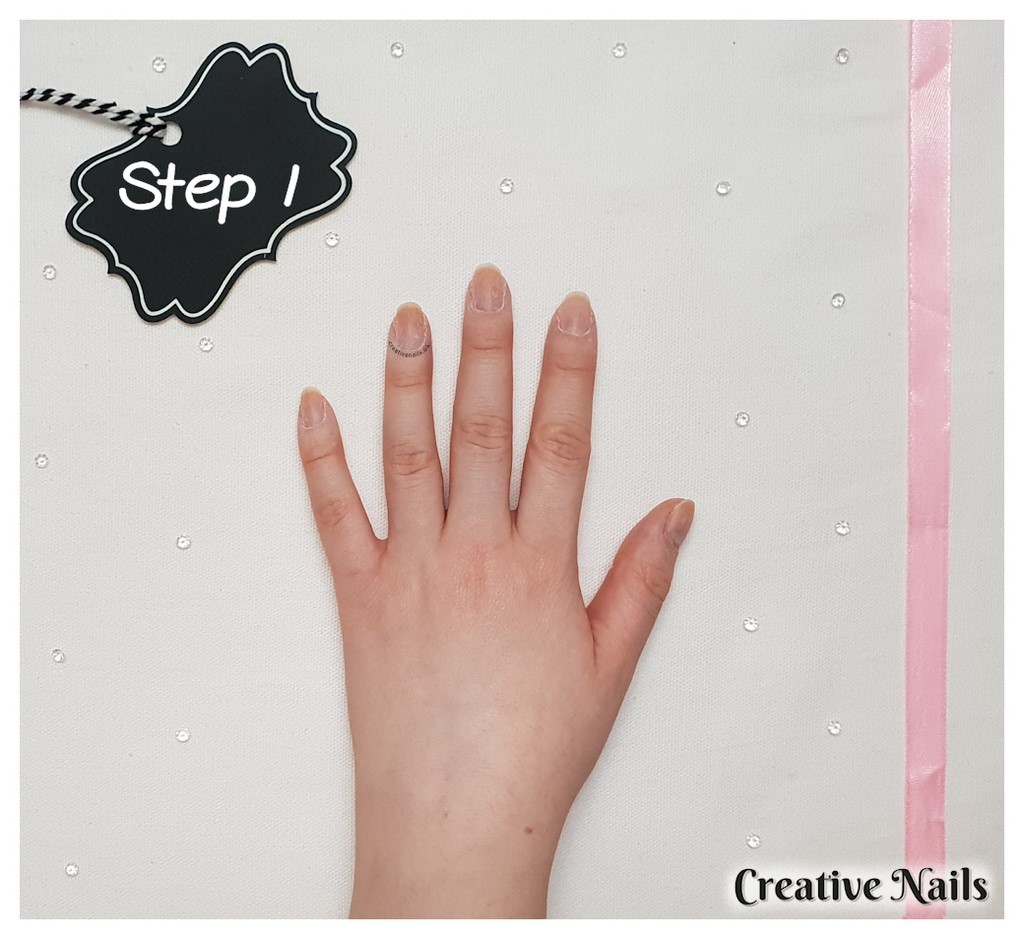
step 1
Once you have pushed your cuticles back, it’s time to “scrub your nails”. To do this, you want to use the pink side of the nail file (8) that comes with your starter kit. Doing this help prepares your nails but also removes dead skin cells and ridges on your nails. Then using the white side of the file, you want to tidy your nails up a little and shape them to how you want them to be.
step 2
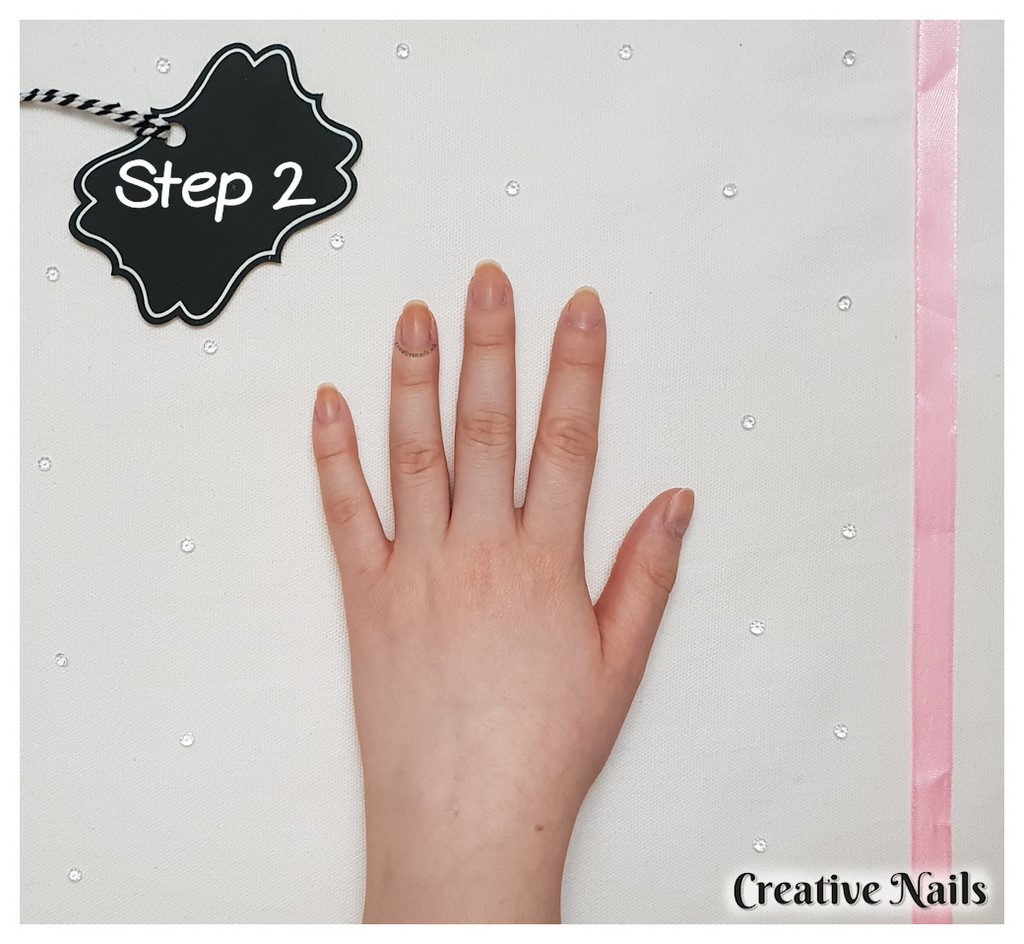
After you have cleaned them, you want to apply the primer (2) to the tips of the nails – do not apply it to the entire nail! Allow the primer to air dry for 10 seconds.
step 3
step 4
You want to repeat this step and apply another thin coat of the gel polish to your nails, as this makes sure the coverage of the colour is gorgeous!
step 5
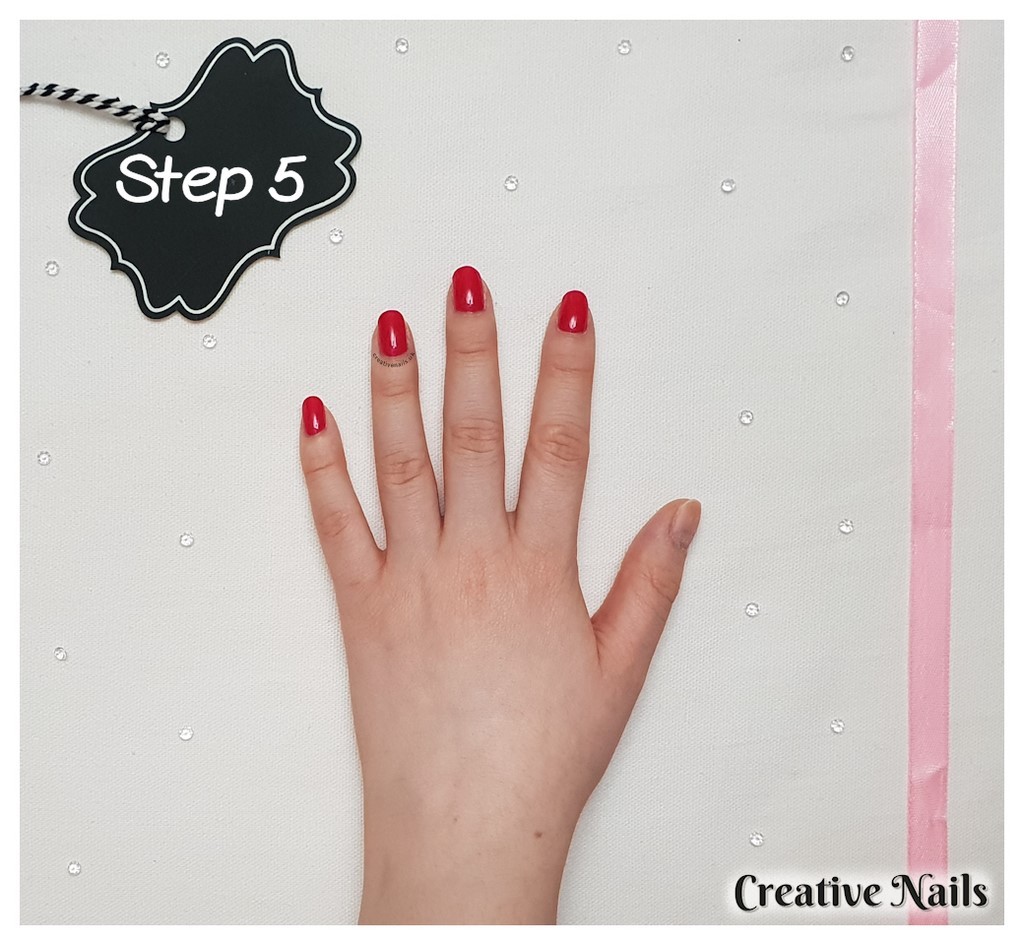
Once you have cured the top coat, use the cleaner pocket (7) to remove the sticky coat and then you are all good to go!
step 6
step 7 (removal)
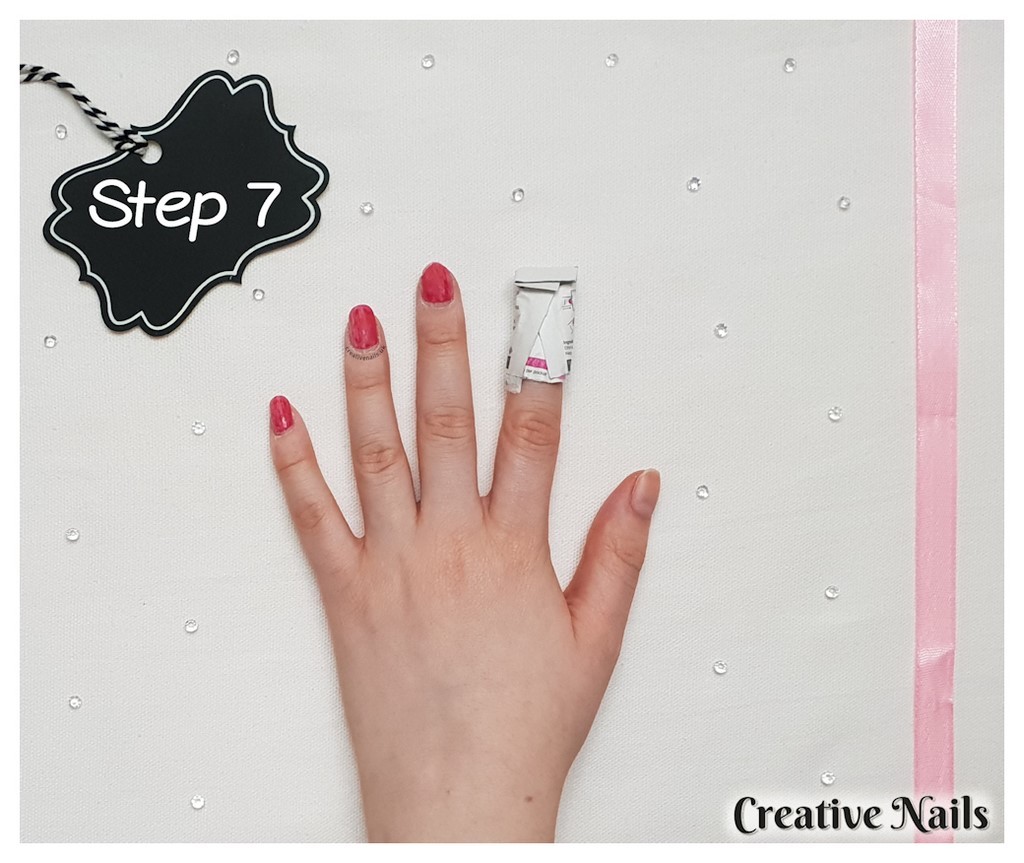
Once you have removed the top coat, it’s time to get the remover pockets (6). You want to tear the bottom of the pocket, place your finger in it with the nail touching the pad and then wrap the pocket firmly around your finger. There is a small bit of plastic that you can remove on the front of the remover pocket (6) that will uncover a sticky section that will help you firmly wrap it around your finger! You want to leave the wraps on for at least 10-15 minutes, depending on how many layers of gel polish you painted on.
After allowing the gel polish to soak for 10-15 minutes in the wraps, I recommend removing one of the wraps to see if there is lifting of the polish around the edges. If there is, they are ready for the next part. If there isn’t, gently put the wrap back on and leave them to soak for a bit longer.
When you see the gel polish is lifting at the edges, it’s time to move on to the last part of the removal process! You want to use the orange woodstick (9) to remove the gel polish by starting at the edge of the gel polish (where it has lifted), and gently pushing along the nail to lift it up. Make sure you do not push too hard as you don’t want to damage the nail! You can then use the pink side of the nail file (8) to remove any small bits of remaining polish, and also tidy up your nails.
Overall thoughts?
I have used these products quite a few times now, and I have been really impressed with Pink Gellac. Their starter kit comes with everything you need to create a gel manicure at home. It is perfect for someone that may not have experience with using gel products before, as the kit has everything you need and is so easy to use. As well as my tutorial showing you how to create the perfect gel manicure, the kit also comes with a manual that explains what you need to do from preparing the nails, to applying the Pink Gellac gel polishes and removing it.
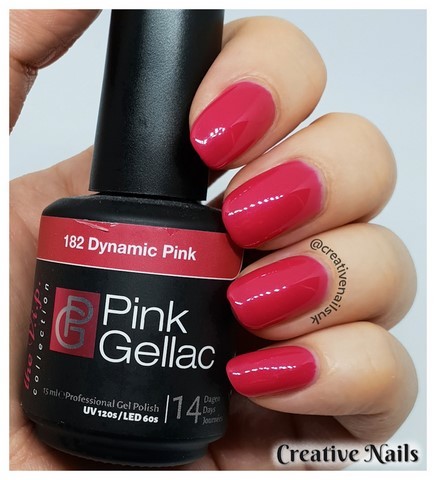
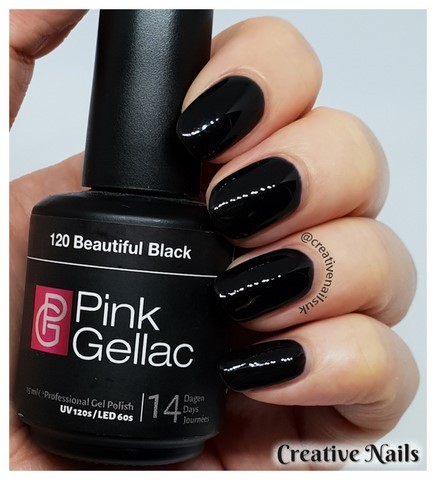
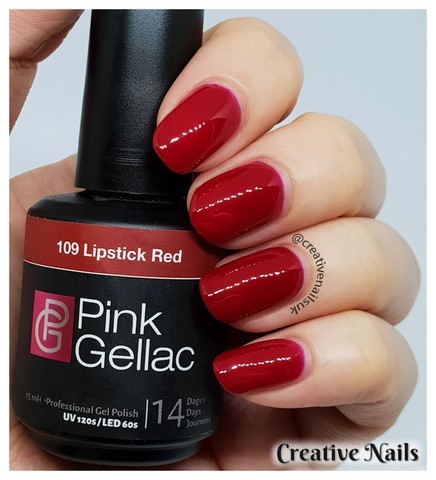
I also love the colour of the gel polish that came with the kit, Dynamic Pink – it is such a gorgeous colour! As you can see in the photo’s below, the rest of the polishes we were gifted are gorgeous too. Let us know in the comments below which is your favourite! They have such a variety of colours available on their website, with new ones coming out quite regularly! In addition, the shine is incredible – the name ‘Ultra Shine Top Coat’ matches it perfectly. These polishes easily lasted the 14 days. When I had the gel polish in the colour vintage nude on, it lasted 3 weeks!
I didn’t really have any issues with this starter kit, however there are a few things I would comment on. Firstly, as the base coat needs to be cured under the LED lamp for 15 seconds – you need to make sure you time this. The LED lamp beeps when it’s been on for 30 seconds, and then turns off after 60 seconds but there is no indication for the 15 second mark. Also, I did notice a few scuff marks on some of the nails after having it on for about a week or so. Although this wasn’t really too noticeable, especially from far away, I did notice it when looking closely at my nails.
And that’s it! My first review done! I hope you enjoyed reading it and found it useful. I’d love to know what you think in the comments and if you’d like to see more reviews!
* This product was kindly sent to us in exchange for an honest review, but all thoughts and opinions are my own.
Follow us:
Twitter | Instagram | Facebook
Pinterest | Bloglovin’


